
Window Cleaning Process for Moving: Achieve Spotless Results
- support760146
- Feb 13
- 7 min read
Moving out of a property in St. Augustine or Nocatee often means facing a mountain of cleaning tasks, with windows topping many checklists. Clean, streak-free glass boosts first impressions and can make your home feel brighter and more inviting to buyers or new tenants. With preparation as 80 percent of successful window cleaning, you’ll discover how simple strategies and the right tools turn window cleaning from a chore into an easy win for property appeal.
Table of Contents
Quick Summary
Key Point | Explanation |
1. Prepare Quality Cleaning Supplies | Gather microfiber cloths, soft squeegees, and mild cleaning solutions to ensure spotless windows. Organization aids efficiency. |
2. Remove Dust Before Cleaning | Dust all window surfaces using gentle tools to prevent streaks. Clean from top to bottom for optimal results. |
3. Apply Cleaning Solution Strategically | Use pH-neutral cleaners and apply uniformly with a microfiber cloth or squeegee to avoid excess solution that causes streaks. |
4. Thoroughly Clean Frames and Sills | Inspect and clean window frames and sills with appropriate methods based on materials. Neglect can lead to long-term damage. |
5. Inspect for Streaks After Cleaning | Check windows in natural light, wipe away remaining streaks with a dry cloth for a clear, polished finish. |
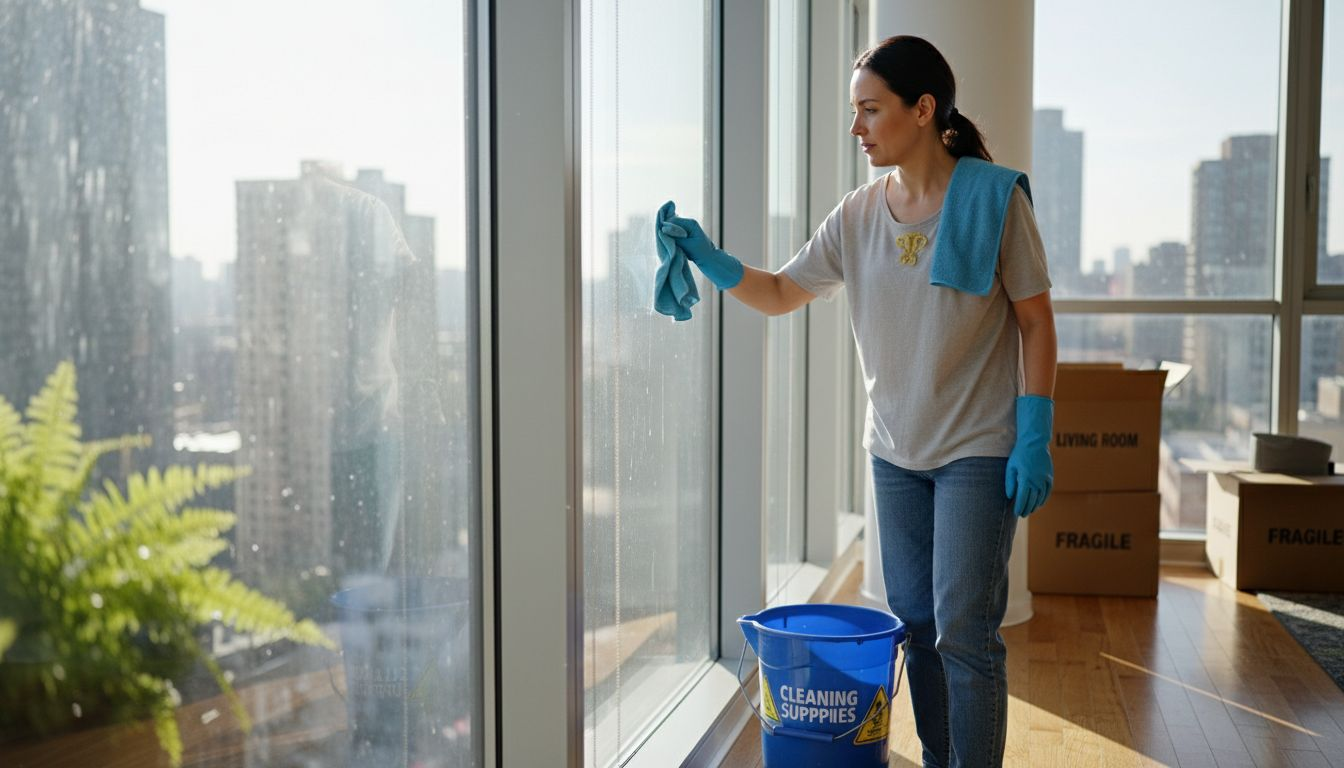
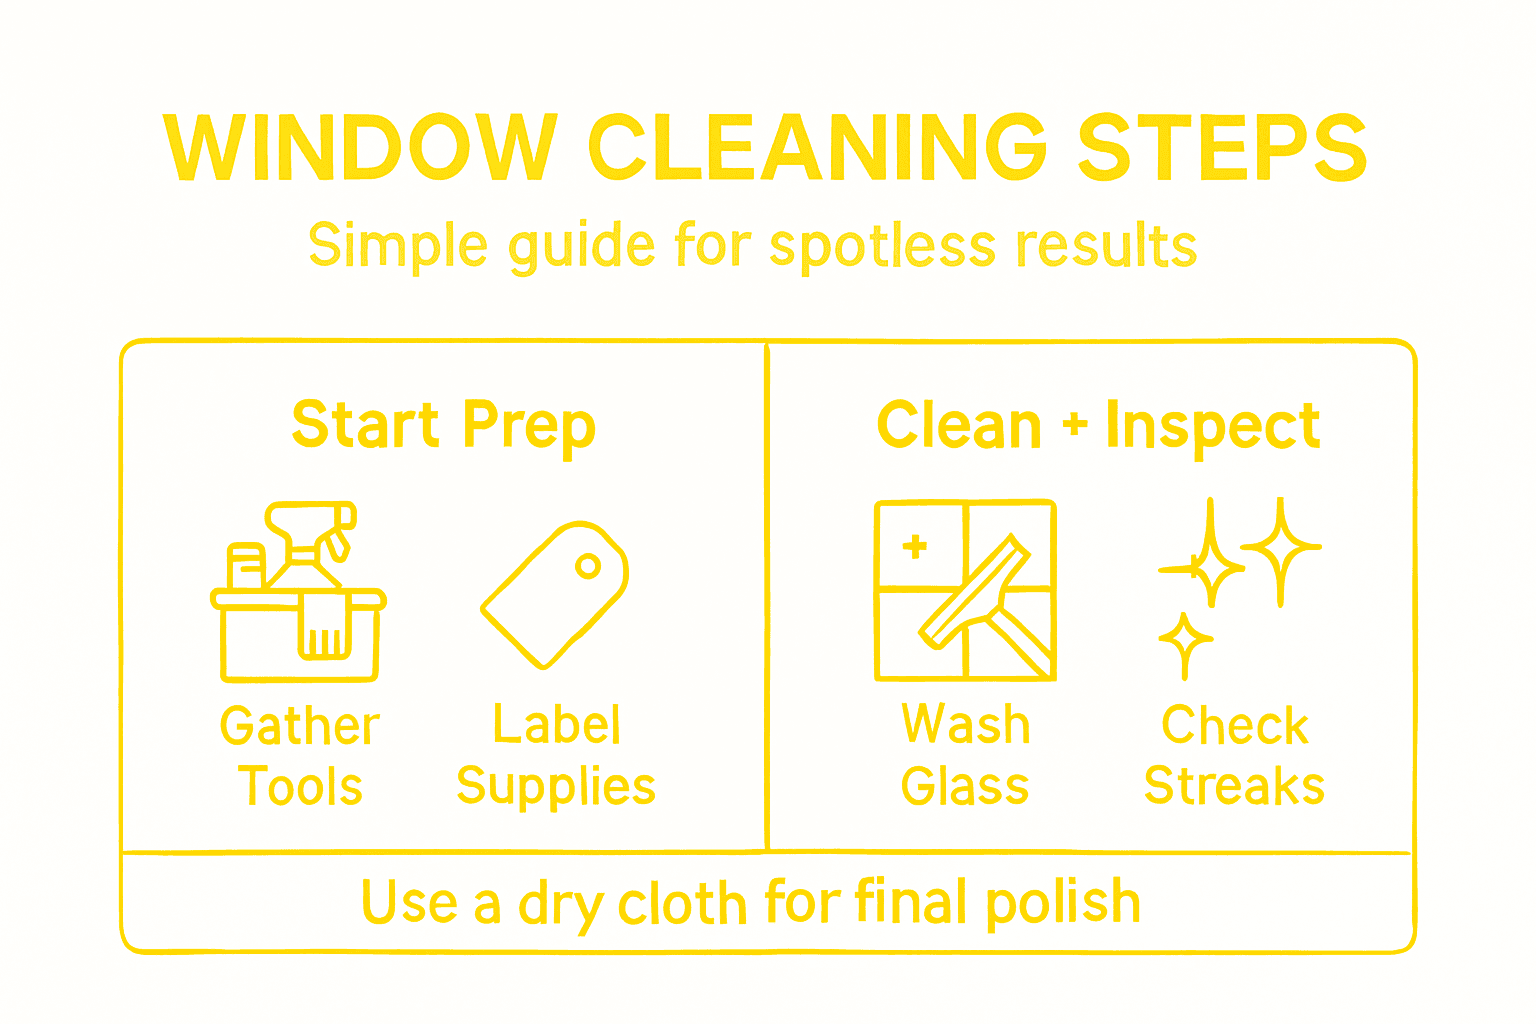
Step 1: Gather and Prepare Window Cleaning Supplies
Preparing the right window cleaning supplies is crucial for achieving spotless results during your move. By gathering the appropriate tools and materials in advance, you’ll streamline your cleaning process and ensure professional-grade outcomes.
Start by assembling a comprehensive window cleaning kit that includes specialized tools and solutions. Architectural glass cleaning recommendations suggest focusing on materials that won’t damage delicate glass surfaces. Your essential supplies should include:
Microfiber cloths for streak-free cleaning
Soft squeegees with rubber blades
Bucket with clean water
Mild glass cleaning solution
Extension pole for hard-to-reach windows
Protective gloves
Lint-free paper towels
Spray bottle
Organize your supplies strategically before beginning. Efficient home cleaning practices recommend laying out all materials within easy reach to prevent unnecessary interruptions during the cleaning process.
Preparation is 80% of successful window cleaning - have everything ready before you start.
Pro tip: Store your cleaning solutions in clearly labeled containers and check their expiration dates to ensure maximum effectiveness and safety.
Step 2: Remove Dust and Debris from All Window Areas
Effective dust removal is critical for achieving pristine windows during your moving process. By systematically addressing dust and debris across all window surfaces, you’ll ensure a thorough and professional-looking clean.
Comprehensive dust management strategies recommend a multi-step approach to removing accumulated dirt and particles. Start by gathering your cleaning tools and focusing on these key areas:
Window glass surfaces
Window tracks and sills
Window screens
Window frame edges
Surrounding wall areas near windows
Begin with dry removal techniques using a soft microfiber cloth or vacuum attachment with a soft brush. Indoor dust control methods emphasize the importance of using gentle tools that won’t scratch delicate surfaces. Work methodically from top to bottom, ensuring you capture dust before applying any liquid cleaners.
Removing dust before wet cleaning prevents creating muddy streaks on your windows.
Pro tip: Always work in a consistent direction when dusting to prevent redistributing particles and ensure a comprehensive clean.
Step 3: Apply Cleaning Solution and Wash Glass Effectively
Transforming your windows from dusty to sparkling requires a strategic approach to applying cleaning solutions and washing glass surfaces. Your goal is to achieve streak-free, crystal-clear windows that enhance your home’s overall appearance during the moving process.
Proper glass cleaning techniques emphasize selecting the right cleaning agents and application methods. Follow these essential steps for optimal results:
Choose a pH-neutral glass cleaner
Use a soft microfiber cloth or squeegee
Apply solution evenly across the glass surface
Work in consistent horizontal or vertical motions
Avoid cleaning in direct sunlight
Effective surface washing methods recommend thorough but gentle cleaning techniques. Start by spraying your cleaning solution lightly, ensuring complete but not saturated coverage. Use smooth, overlapping strokes to prevent streaking and ensure complete dirt removal.
Less solution is more - you want to clean, not flood your windows.
Pro tip: Use a microfiber cloth folded into quarters to maximize cleaning surface and reduce lint transfer during your window washing process.
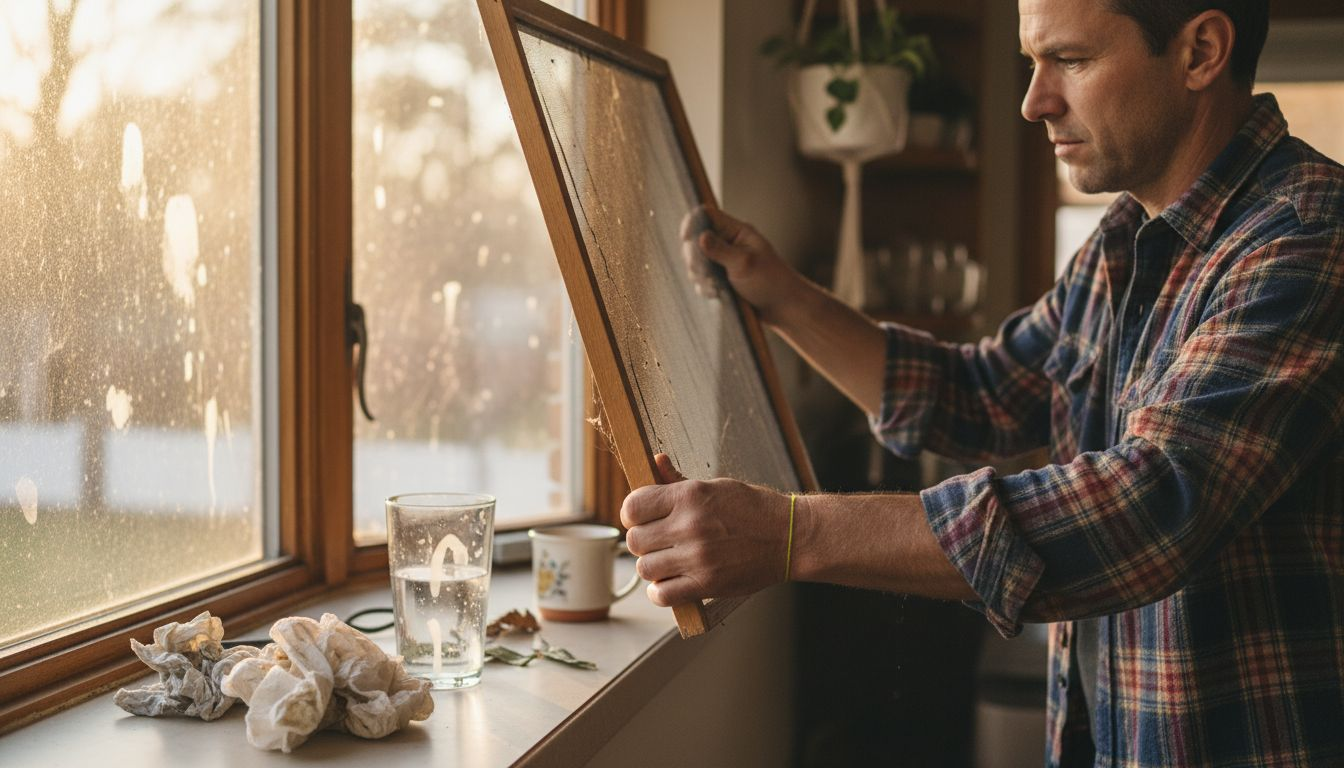
Step 4: Address Frames, Sills, and Screens Thoroughly
Cleaning window frames, sills, and screens requires a methodical approach to ensure every component looks pristine and functions perfectly during your moving process. Thorough attention to these often-overlooked areas can significantly enhance your windows’ overall appearance and longevity.
Window maintenance techniques vary depending on the specific materials of your window components. Here are key strategies for comprehensive cleaning:
Inspect frame material (wood, metal, or composite)
Use mild detergent solutions
Clean with soft microfiber cloths
Check for any signs of wear or damage
Pay special attention to exterior sill sealing
Window cleaning guidelines recommend gentle cleaning methods that protect surface integrity. Remove screens carefully and rinse them with water, using a soft brush to dislodge stubborn dirt and debris. For frames, use a gentle cleaning solution and avoid harsh chemicals that could etch or damage surfaces.
Here’s a quick reference comparing common window frame materials for cleaning and maintenance:
Frame Material | Cleaning Approach | Risks If Neglected | Longevity Factors |
Wood | Use mild soapy water | Warping, rot, mold growth | Regular sealing, gentle cleaning |
Metal | Mild detergent, avoid abrasives | Rust, corrosion, finish fading | Routine inspection, anti-corrosion treatment |
Composite | Soft cloth, pH-neutral cleaner | Surface cracking, color fading | Avoid harsh chemicals, periodic checks |
Careful maintenance prevents long-term damage and preserves window functionality.
Pro tip: Photograph your window components before disassembling screens to ensure correct reinstallation during your moving process.
Step 5: Inspect and Touch Up for Streak-Free Finish
Achieving a truly spotless window finish requires meticulous inspection and careful touch-up techniques. Your final review will transform good window cleaning into exceptional results that impress potential buyers or renters during your moving process.
Professional glass cleaning techniques emphasize thorough inspection under natural light to identify any remaining streaks or missed spots. After your initial cleaning, follow these key inspection steps:
Check windows from multiple angles
Use natural daylight for best visibility
Wipe vertically first, then horizontally
Use lint-free microfiber cloths
Re-clean any problematic areas
Microfiber cloth cleaning methods recommend gentle buffing techniques to eliminate remaining streaks. Focus on edges and corners where cleaning solution tends to accumulate. Use light, consistent motions to blend any remaining marks and create a uniform, crystal-clear finish.
The table below summarizes best practices for avoiding streaks during each phase of window cleaning:
Cleaning Phase | Common Pitfalls | Streak Prevention Tip |
Dust Removal | Uneven dust distribution | Use consistent cleaning direction |
Solution Application | Excess solution creates streaks | Apply thin, even coating of cleaner |
Final Inspection | Overlooked edges, corners | Use dry cloth for buffing edges |
Small details make the difference between a good and great window cleaning.
Pro tip: Keep a dry microfiber cloth handy for final buffing and immediately address any streaks you notice during your final inspection.
Make Your Move Shine with Expert Window Cleaning Support
Moving can be stressful enough without worrying about achieving streak-free, spotless windows. This article highlights common challenges like dust removal, applying the right cleaning solutions, and carefully maintaining window frames and screens to avoid damage. If you want to skip the hassle while ensuring every pane gleams perfectly, professional help is the key. With so many details to manage, it is easy to miss subtle streaks or risk harming delicate surfaces.

Trust Lemon Maids for expert residential and commercial window cleaning that guarantees crystal-clear results tailored for your moving needs. Our team uses proven techniques to remove dust thoroughly and apply safe, effective solutions on all window components. Don’t let moving day cleaning stress you out or fade your home’s appeal. Visit Lemon Maids now and book reliable service to make your windows sparkle, impress buyers or renters, and enjoy a fresh start in your new home.
Frequently Asked Questions
What supplies do I need for window cleaning during my move?
To effectively clean windows while moving, gather essential supplies like microfiber cloths, a soft squeegee, a bucket with clean water, and a mild glass cleaning solution. Organize these materials in a kit to streamline your cleaning process and ensure you have everything within reach.
How should I remove dust and debris from windows before washing them?
Start by using a soft microfiber cloth or a vacuum attachment with a soft brush to remove dust from window glass, tracks, and sills. Focus on dry removal techniques to prevent streaks and ensure a thorough clean before applying any liquid cleaners.
What is the best method for applying cleaning solution to windows?
Use a pH-neutral glass cleaner and apply it evenly across the surface with a soft microfiber cloth or squeegee. Work in consistent horizontal or vertical motions and avoid cleaning in direct sunlight to achieve streak-free results.
How can I achieve a streak-free finish after cleaning my windows?
Inspect your cleaned windows under natural light for any remaining streaks and re-clean any problematic areas using a lint-free microfiber cloth. Wipe vertically first, then horizontally, and buff edges for a final touch-up to ensure a crystal-clear finish.
What special care do window frames and sills require during the cleaning process?
Inspect window frames for material type and use mild detergent solutions to clean them. Pay special attention to frames, sills, and screens, ensuring you avoid harsh chemicals that can damage surfaces and reduce their longevity.
How often should I clean my windows while moving?
Clean windows regularly during the moving process to maintain their appearance, aiming for at least once every few days, especially if you notice dust or grime accumulation. This proactive approach can enhance your home’s overall presentation and make it more appealing to potential buyers or renters.
Recommended
Comments