Step by Step Deep Cleaning Guide for Homes and Rentals
- support760146
- Feb 17
- 8 min read
Clutter piles up fast in busy homes and vacation rentals across St. Augustine, Ponte Vedra, and Nocatee. Tackling deep cleaning can feel overwhelming, but a structured approach brings relief and lasting results. Starting with gathering supplies and decluttering wastes less time and creates a foundation for a cleaner, healthier environment. Whether preparing for new guests or refreshing your own home, this guide delivers clear steps and trusted methods for transforming every space efficiently.
Table of Contents
Quick Summary
Essential Takeaway | Clear Explanation |
1. Set Decluttering Goals | Begin organizing by setting achievable targets, such as cleaning one room or area at a time to build momentum. |
2. Focus on High Surfaces First | Clean dust and allergens from high areas initially to avoid contaminating cleaned lower surfaces during deep cleaning. |
3. Sanitize Kitchens and Bathrooms | Thoroughly disinfect these high-traffic areas to eliminate germs and promote a hygienic environment for daily use. |
4. Inspect for Missed Spots | Conduct a final check of each area after cleaning to ensure no details are overlooked and everything is orderly. |
5. Maintain Regular Routines | Implement a consistent 15-minute daily decluttering routine to keep living spaces organized and prevent clutter buildup. |
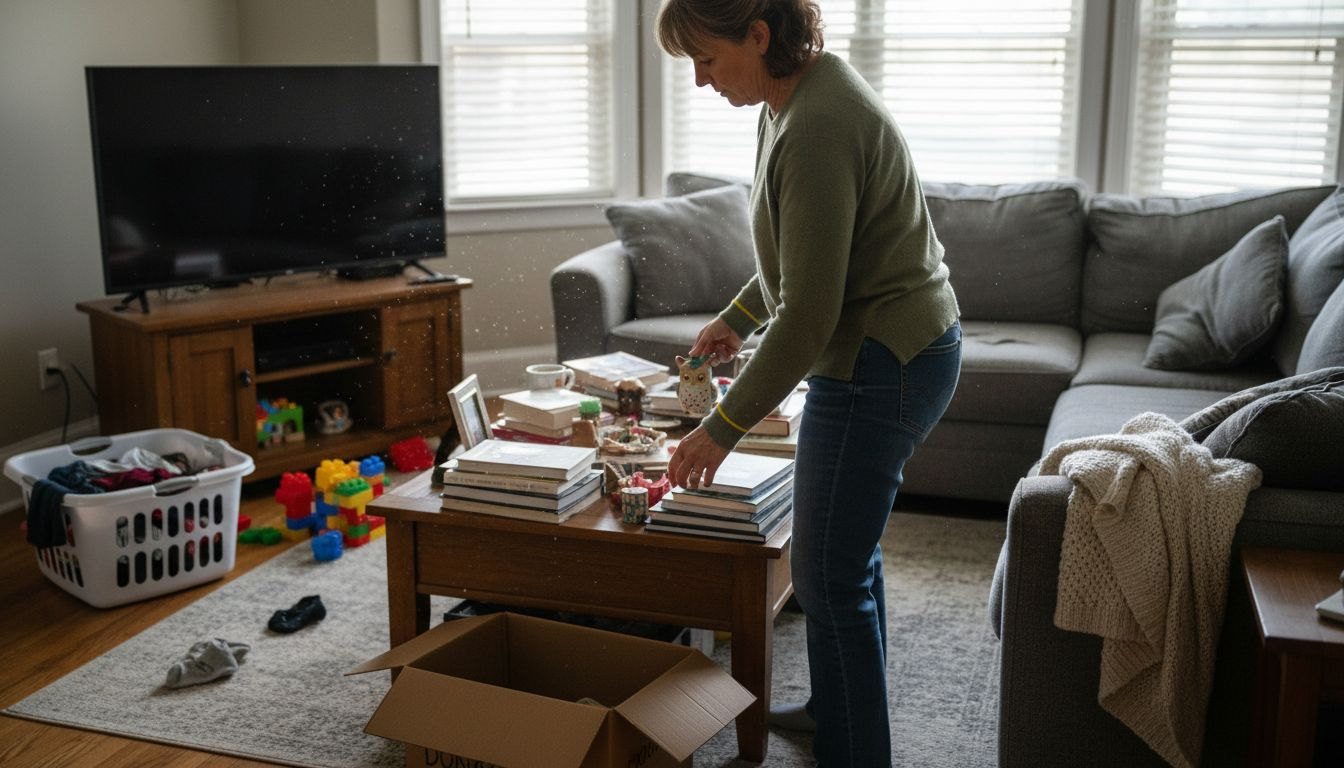
Step 1: Gather Supplies and Declutter Spaces
Successful deep cleaning begins with strategic preparation and space organization. Your first mission is to transform cluttered areas into clean, functional spaces by systematically gathering supplies and reducing unnecessary items.
Start by setting realistic decluttering goals. This means approaching your space with a methodical mindset, focusing on one area at a time. Grab these essential supplies before beginning:
Large trash bags
Donation boxes
Cleaning gloves
Sorting containers
Permanent marker
Labels or sticky notes
Begin your decluttering process by selecting a manageable starting point - perhaps a single drawer, closet, or small room. The key is building momentum through small, achievable tasks. As you sort, create four distinct categories for your belongings:
Keep items you use regularly
Donate items in good condition
Trash items that are worn out
Undecided items requiring further evaluation
Psychological research shows that systematic decluttering can significantly reduce stress and improve overall living space functionality.
Quickly move through each space, making fast decisions and avoiding overthinking. If you haven’t used an item in the past year, it’s likely a candidate for donation or disposal. Be ruthless but practical in your sorting process.
Pro tip: Create a 15-minute daily decluttering routine to maintain organization and prevent future buildup.
Step 2: Tackle Dusting and High Surfaces First
Effective deep cleaning requires a strategic top-down approach, starting with high surfaces and dust-prone areas to ensure comprehensive room transformation. By beginning with elevated spaces, you’ll prevent re-contaminating already cleaned lower surfaces.
Begin by understanding dust removal techniques that minimize particle spread. Your essential dusting toolkit should include:
Microfiber cloths
Extension pole duster
Ladder or stable step stool
Protective gloves
Dust mask
Vacuum with attachments
Follow these systematic steps for thorough high surface cleaning:
Start with ceiling fans and light fixtures
Move to top of bookcases and cabinets
Clean window frames and top moldings
Address picture frames and wall decor
Wipe down shelves and horizontal surfaces
Proper dust removal significantly improves indoor air quality and reduces potential allergen buildup.
When cleaning high surfaces, work methodically from top to bottom. Use damp microfiber cloths to trap dust effectively, preventing particles from becoming airborne. Always use a stable ladder and maintain three points of contact for safety.
Pro tip: Invest in an extension pole duster with washable microfiber attachments to safely reach high surfaces without risking personal injury.
Here’s how common cleaning tools improve their target areas:
Tool | Best Used For | Added Benefit |
Microfiber Cloth | Trapping dust | Reduces airborne particles |
Extension Pole Duster | High shelves & fans | Increases safety when cleaning |
Disinfectant Spray | Bathrooms, kitchens | Kills viruses and bacteria |
Vacuum with Attachments | Upholstery, corners | Removes allergens from fabrics |
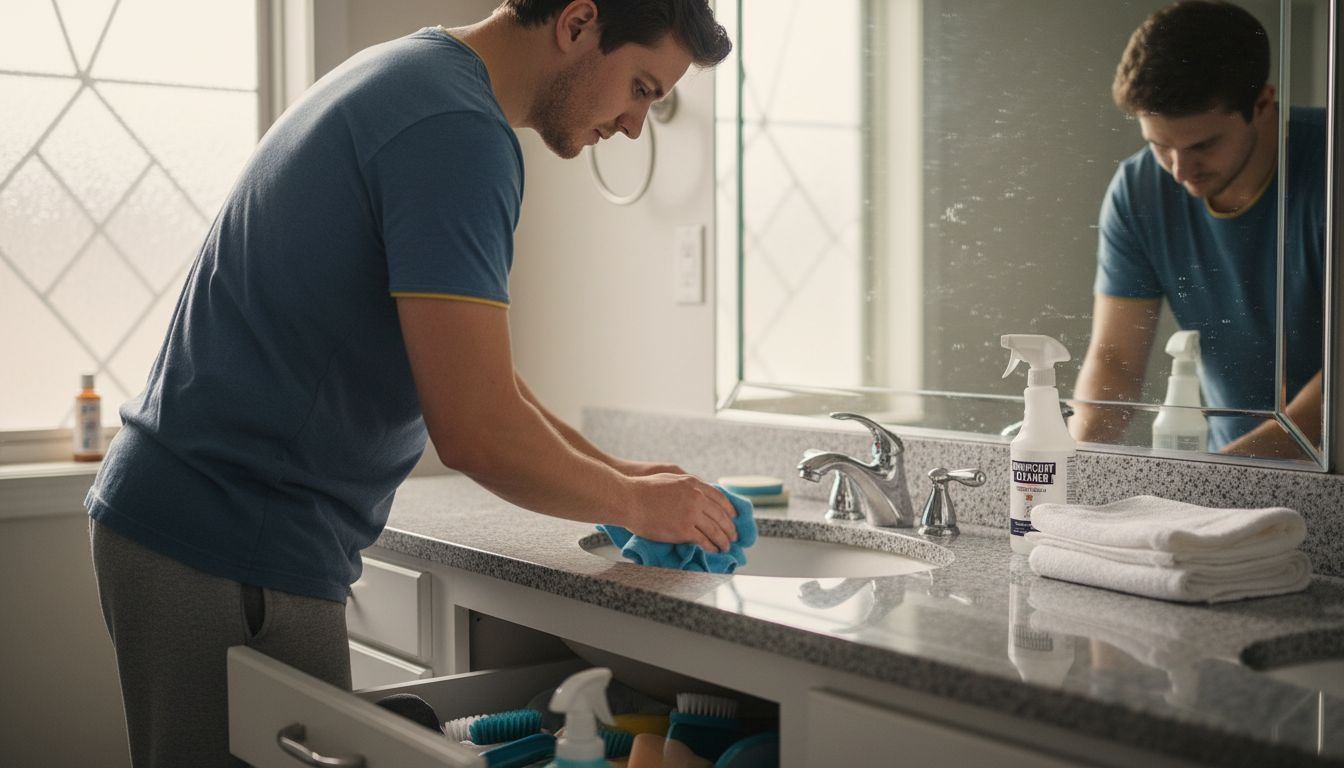
Step 3: Clean Kitchens and Bathrooms Thoroughly
Thoroughly cleaning kitchens and bathrooms requires a systematic approach that eliminates germs, prevents cross-contamination, and ensures a hygienic living environment. These high-traffic areas demand meticulous attention to detail and specialized cleaning techniques.
Kitchen and bathroom sanitization techniques focus on eliminating potential health risks and maintaining a pristine space. Your comprehensive cleaning kit should include:
Disinfectant spray
Microfiber cloths
Scrub brushes
Glass cleaner
All-purpose cleaner
Rubber gloves
Disposable wipes
Sanitizing solution
Follow these systematic steps for deep cleaning:
Clear all surfaces of items
Dust and remove loose debris
Apply appropriate cleaning solutions
Scrub surfaces thoroughly
Rinse and dry completely
Disinfect high-touch areas
Proper cleaning prevents foodborne illnesses and reduces potential bacterial contamination.
Start with high-touch surfaces like faucets, handles, and countertops. Use disinfectant solutions that kill 99.9% of germs, paying extra attention to areas like toilet seats, sink edges, and refrigerator handles. Always work from cleaner areas to dirtier zones to prevent cross-contamination.
Pro tip: Use color-coded cleaning cloths to prevent cross-contamination between different areas of your kitchen and bathroom.
Step 4: Detail Living and Sleeping Areas Next
Transforming living and sleeping spaces requires a comprehensive approach that goes beyond surface cleaning, focusing on creating restful, organized environments that promote comfort and well-being. Your goal is to systematically deep clean and refresh these personal sanctuary spaces.
Bedroom cleaning and organization strategies emphasize creating a tranquil, hygienic environment. Your essential cleaning kit for living and sleeping areas should include:
Microfiber cloths
Upholstery vacuum attachment
Fabric freshener
Dusting spray
Lint roller
Soft-bristled brush
Furniture polish
Washable garment bags
Follow these detailed cleaning steps:
Remove all items from surfaces
Dust from top to bottom
Vacuum soft surfaces thoroughly
Clean and sanitize hard surfaces
Organize and replace items
Refresh fabrics and linens
A clean sleeping environment directly contributes to better sleep quality and overall health.
Focus on hidden dirt zones like baseboards, behind furniture, under beds, and inside drawers. Pay special attention to frequently touched surfaces such as nightstands, remote controls, and light switches. Vacuum mattresses, wash bedding, and rotate cushions to ensure comprehensive cleaning.
Pro tip: Use garment storage bags and vacuum-sealed containers to protect seasonal clothing and reduce dust accumulation.
Step 5: Sanitize High-Touch Points and Fixtures
Addressing high-touch surfaces is crucial for eliminating harmful bacteria and preventing potential disease transmission throughout your living spaces. This step focuses on systematically sanitizing areas that accumulate the most germs and require meticulous attention.
High-touch surface sanitization protocols require strategic and thorough cleaning techniques. Your essential sanitization toolkit should include:
EPA-approved disinfectant spray
Disposable cleaning wipes
Microfiber cloths
Protective gloves
Rubbing alcohol
Cotton swabs
Sanitizing solutions
Disposable paper towels
Follow these systematic sanitization steps:
Identify all high-touch surfaces
Clear surfaces of loose items
Use appropriate cleaning solution
Wipe thoroughly with clean cloth
Allow proper dwell time for disinfectant
Dry surfaces completely
Consistent sanitization significantly reduces pathogen transmission and maintains a healthier environment.
Focus on critical contact zones like doorknobs, light switches, remote controls, keyboards, phones, and bathroom fixtures. Use disposable wipes or alcohol-based solutions for electronics, ensuring you do not saturate sensitive equipment. Work systematically from cleanest to dirtiest areas to prevent cross-contamination.
Pro tip: Keep a small sanitization kit with disinfectant wipes and hand sanitizer in each major living area for quick touch-ups.
Step 6: Inspect and Reset for a Fresh Finish
The final stage of deep cleaning involves a comprehensive inspection to ensure every surface meets the highest standards of cleanliness and functionality. This crucial step transforms your cleaning effort from a basic routine to a professional-level reset of your living space.
Home cleaning inspection techniques require systematic and thorough evaluation. Your final inspection toolkit should include:
Bright flashlight
Clean white towel
Magnifying glass
Cleaning log or checklist
Camera or smartphone
Notepad
Microfiber cloth
Touchup cleaning supplies
Follow these detailed inspection and reset steps:
Check all cleaned surfaces under bright light
Test surfaces for residue or missed spots
Wipe down any remaining smudges
Reorganize and reset room layouts
Verify all items are in proper place
Conduct final walkthrough
A meticulous final inspection ensures no detail is overlooked in your deep cleaning process.
Focus on subtle imperfections that might have been missed during initial cleaning. Check baseboards, corners, window sills, and other hard-to-reach areas. Look for dust accumulation, fingerprints, or any remaining grime that requires additional attention.
Pro tip: Take before and after photos to track your cleaning progress and maintain cleaning standards for future sessions.
Here’s a summary of each deep cleaning step and its primary goal:
Step | Focus Area | Key Objective |
1 | Decluttering | Remove excess items and organize |
2 | High Surfaces | Eliminate dust from elevated areas |
3 | Kitchens/Bathrooms | Sanitize to reduce germs and bacteria |
4 | Living/Sleeping Areas | Refresh and deep clean personal spaces |
5 | High-Touch Points | Disinfect commonly touched objects |
6 | Inspection/Reset | Ensure spotless and organized finish |
Take Your Deep Cleaning to the Next Level with Professional Help
Deep cleaning your home or rental can be overwhelming. The detailed steps from decluttering and dusting high surfaces to sanitizing high-touch points highlight just how much effort it takes to achieve a spotless and healthy living space. If tackling tasks like kitchens, bathrooms, or inspection feels exhausting or time-consuming, you are not alone. Your goal is a clean, organized, and germ-free environment but the challenge is finding the time and energy to do it right.

Let My Lemon Maids take the stress off your shoulders with expert deep cleaning services tailored for homes and rentals. From thorough sanitation to meticulous detail cleaning, our team handles every step so you can enjoy refreshed and healthy spaces without the hassle. Ready to experience a professional deep clean that covers everything from high surfaces to high-touch points? Visit My Lemon Maids today and book your appointment for top-quality residential or commercial cleaning services designed to perfectly match your needs.
Frequently Asked Questions
How can I effectively declutter my home before deep cleaning?
To declutter your home, start by setting realistic goals and focusing on one area at a time. Use large trash bags for items to throw away, donation boxes for items in good condition, and sorting containers to categorize your belongings into keep, donate, trash, and undecided.
What supplies do I need for deep cleaning kitchens and bathrooms?
You’ll need disinfectant spray, microfiber cloths, scrub brushes, glass cleaner, all-purpose cleaner, rubber gloves, disposable wipes, and a sanitizing solution. Gather these supplies beforehand to ensure a thorough cleaning process.
What is the best way to clean high surfaces in my home?
Begin by dusting high surfaces first to prevent dust from falling onto already cleaned areas. Use damp microfiber cloths with an extension pole duster to effectively trap dust from ceiling fans, light fixtures, and top shelves.
How often should I deep clean my living and sleeping areas?
Aim to deep clean your living and sleeping areas at least every three to six months. Regular cleaning sessions will help maintain a fresh and hygienic environment, contributing to better sleep quality and overall well-being.
What are high-touch points, and why should I sanitize them?
High-touch points include doorknobs, light switches, remote controls, and bathroom fixtures that are frequently handled and can accumulate germs. Regularly sanitizing these areas can significantly reduce the transmission of bacteria and viruses, ensuring a healthier living space.
How can I ensure my deep cleaning is thorough?
Conduct a final inspection with bright light and a clean cloth, checking for any missed spots. Focus on subtle imperfections and ensure all surfaces are free of dust and residue before redecorating or organizing the space.
Recommended
Comments