
Essential Kitchen Deep Cleaning Steps for a Hygienic Home
- Glenn Brosnick
- 10 hours ago
- 8 min read

TL;DR:
Deep cleaning targets hidden grease, grime, and bacteria in overlooked kitchen areas.
Proper tools, safety precautions, and a top-to-bottom approach ensure effective results.
Regular habits like daily wipe-downs significantly reduce the need for intensive deep cleans.
Your kitchen collects grease, bacteria, and hidden grime faster than any other room in your home. Standard wiping and sweeping handle the surface, but they leave behind residue in corners, under appliances, and inside cabinets that builds up over time. A structured deep cleaning process targets those problem areas directly, reducing health risks and keeping your kitchen genuinely safe. This guide walks you through every step, from gathering the right tools to tackling appliances and hidden spots, so you can approach the job with confidence and get results you can actually see.
Table of Contents
Key Takeaways
Point | Details |
Top-to-bottom order | Cleaning from cabinets and fixtures down to the floors prevents recontamination. |
Safe, simple cleaners | Soap, vinegar, and baking soda tackle most kitchen grime without harsh chemicals. |
Daily maintenance reduces work | Wiping high-touch surfaces daily cuts the need for frequent deep cleans. |
Property manager priorities | Hidden areas and ventilation hoods are key for preventing costly repairs and hazards. |
Professional services available | Local experts offer flexible solutions for homeowners and managers needing fast, thorough results. |
Gathering tools, materials, and setting up for safety
Before you touch a single surface, you need the right supplies on hand. Rushing into a deep clean without preparation wastes time and often means you skip critical areas. Here is what you should have ready:
Dish soap and degreaser for cutting through grease on stovetops and cabinet fronts
White vinegar and baking soda for odors, light stains, and general surface cleaning
Microfiber cloths (at least 6 to 8) for wiping without spreading bacteria
Scrub brushes in small and medium sizes for grout lines, corners, and appliance seams
Rubber gloves to protect your hands from cleaners and grime
A bucket, spray bottles, and a mop for floor work
Trash bags for removing expired food and debris
The CDC recommends using simple, safe cleaners like dish soap, vinegar, and baking soda for grease and odors, which makes them a smart first choice before reaching for stronger products.
For a quick comparison of cleaning options:
Task | Standard Cleaner | Eco-Friendly Alternative |
Grease removal | Commercial degreaser | Dish soap + baking soda paste |
Odor control | Chemical spray | White vinegar solution |
Surface disinfecting | Bleach solution | EPA-registered plant-based spray |
Scrubbing residue | Steel wool | Baking soda + scrub brush |
Safety setup matters just as much as the supplies themselves. Open windows and turn on your exhaust fan before you start. Unplug small appliances before wiping them down. Protect wood surfaces from prolonged moisture by working quickly and drying as you go.
Important: Never mix bleach with vinegar or ammonia-based cleaners. Combining these creates toxic fumes that are harmful in enclosed spaces like kitchens.
Pro Tip: A paste of baking soda and a few drops of dish soap works as a gentle but effective scrub for stovetop grates and cabinet handles. It is safe, inexpensive, and you likely already have both at home. For a broader overview, this deep cleaning guide covers preparation steps for every room in your home. You can also reference this natural kitchen cleaning resource for additional eco-friendly product ideas.
Step-by-step cleaning: From top to bottom, area by area
With tools and materials gathered, it is time to tackle the kitchen systematically. The most important rule is to always work from top to bottom. Cleaning cabinets before floors means any falling crumbs or drips get cleaned up in the next step, not after you have already mopped.
Here is the recommended sequence:
Cabinets and upper fixtures — Wipe down cabinet fronts, handles, and light fixtures first. Remove cabinet contents and wipe interiors with a damp cloth.
Appliances — Clean the exterior and interior of the refrigerator, microwave, oven, and dishwasher.
Countertops and backsplash — Scrub all surface areas, paying attention to the edges where counters meet the wall.
Sink and faucet — Scrub the basin, faucet base, and drain cover. Disinfect after cleaning.
Floors — Sweep first, then mop using a clean solution. Pay attention to corners and baseboards.
The top-to-bottom method is the most efficient way to avoid recontaminating areas you have already cleaned.
Areas that homeowners frequently miss:
The tops of cabinets and refrigerators
The underside of shelves inside cabinets
The area around and behind the faucet base
Drawer interiors and drawer tracks
Light switch plates and outlet covers
Here is a realistic time estimate for each step:
Area | Estimated Time |
Cabinets and fixtures | 45 to 60 minutes |
Appliances | 60 to 90 minutes |
Countertops and backsplash | 20 to 30 minutes |
Sink and faucet | 15 to 20 minutes |
Floors | 20 to 30 minutes |
For context, a full deep clean of a kitchen typically takes 4 to 6 hours, though focused resets of the dirtiest areas can be done in under an hour.
Pro Tip: If you are short on time, start with the areas showing the most visible grime. Tackling the stovetop and sink first gives you the biggest visual improvement quickly and keeps momentum going. You can also review these standard cleaning steps to understand how deep cleaning differs from a routine clean.
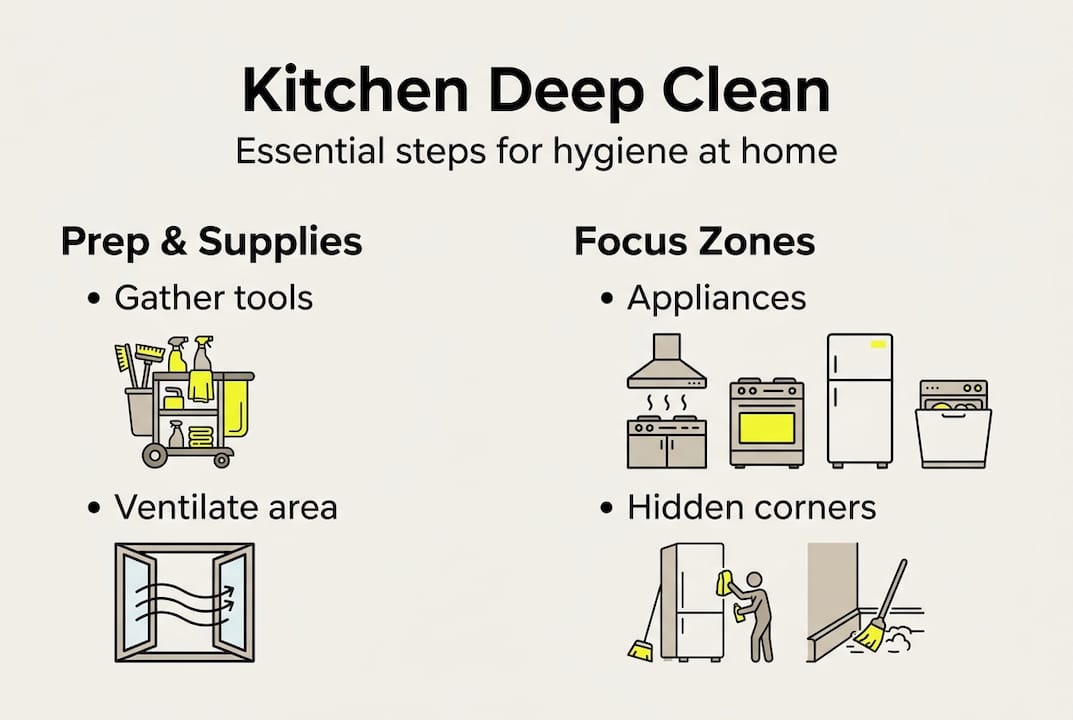
Special focus: Appliances, hidden corners, and sanitation
Certain kitchen areas require special attention to ensure deep cleaning is truly thorough. Appliances and hidden corners are where grease and bacteria accumulate the most, and they are also the most commonly skipped.
Refrigerator: Remove all food, pull out shelves and drawers, and wash them separately in the sink with dish soap and warm water. Wipe down interior walls with a vinegar solution. Pull the refrigerator away from the wall and vacuum the coils and the floor beneath it.
Stove and oven: Remove burner grates and soak them in hot soapy water. Use a baking soda paste on the oven interior and let it sit for 20 minutes before scrubbing. Wipe down the control panel and the sides of the stove.
Microwave: Place a bowl of water with lemon slices inside and run it for 3 minutes. The steam loosens stuck food. Wipe down the interior walls, the turntable, and the door seal.
Hidden corners to check every deep clean:
Behind and under the refrigerator
Under the stove and dishwasher
Inside the ventilation hood and its filters
The gap between the stove and adjacent cabinets
Corners where the floor meets the baseboard
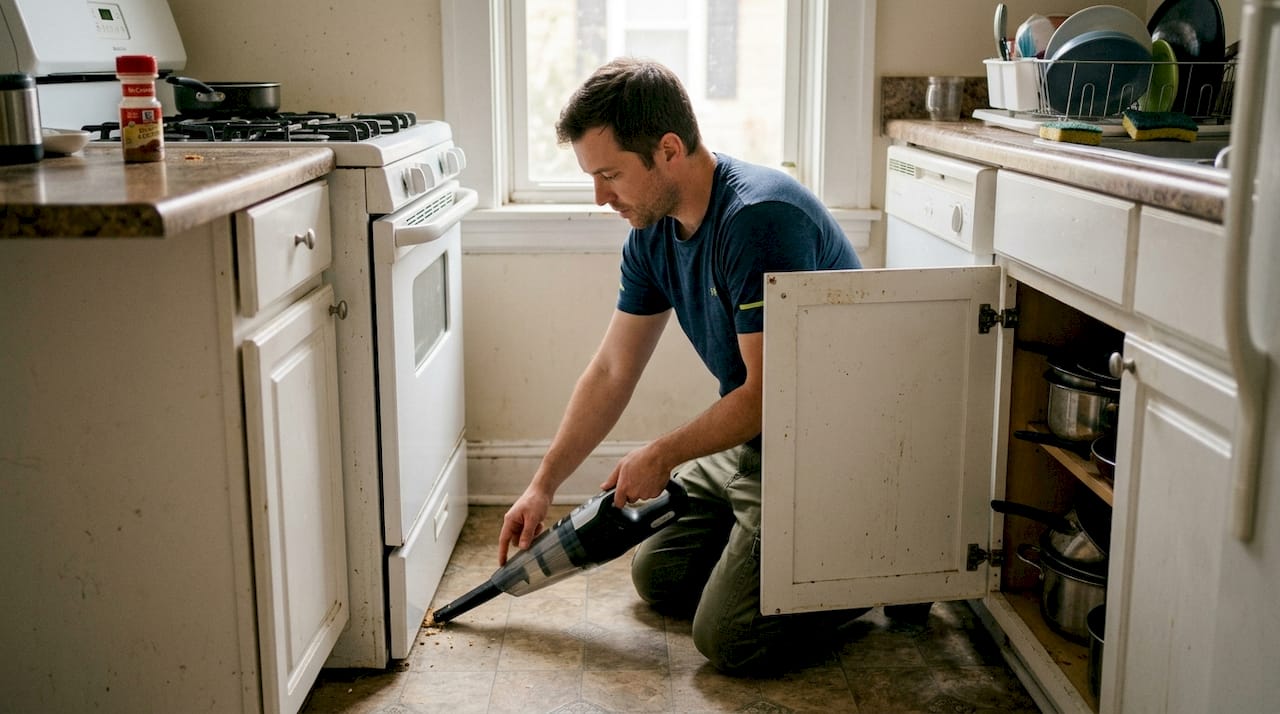
For cleaning hidden areas, vacuuming crumbs and grease from under and behind appliances is one of the most impactful steps you can take.
Once surfaces are clean, sanitizing is the final step. The CDC advises using EPA-registered sanitizers or a diluted bleach solution on high-touch surfaces after washing them with soap and water first. Skipping the cleaning step and going straight to disinfectant is one of the most common mistakes homeowners make.
Pro Tip: Empty and vacuum under all appliances during every deep clean. Grease and crumbs in those areas attract pests and create odors that no amount of surface cleaning will fix. For more on what deep cleaning actually addresses, see this breakdown of deep cleaning benefits.
For property managers: Repairs, pest checks, and ongoing maintenance
Deep cleaning kitchens is especially vital for property managers wanting to protect their investments. A thorough kitchen clean between tenants or rental stays does more than improve appearance. It prevents costly repairs, reduces liability, and keeps properties compliant with health and safety expectations.
Here is a maintenance checklist specifically for property managers:
Inspect all appliances for proper function during each deep clean
Check under and behind appliances for signs of pests or mold
Clean and degrease ventilation hood filters after every tenant turnover
Test faucets and drains for leaks or slow drainage
Check caulking around the sink and backsplash for gaps or mold growth
Confirm that exhaust fans are working and free of dust buildup
Periodic maintenance steps to schedule throughout the year:
Deep clean the full kitchen every 3 to 4 months
Replace ventilation hood filters every 6 months or more frequently with heavy use
Inspect appliance coils and seals annually
Schedule a professional pest inspection once a year
Review and update your cleaning supply inventory before each tenant turnover
According to kitchen cleaning standards, vacuuming crumbs and grease behind and under appliances, checking for pests and mold, and keeping ventilation hoods grease-free are all essential steps for maintaining a safe rental kitchen.
Fire safety reminder: Grease buildup in ventilation hoods is one of the leading causes of kitchen fires. Clean hood filters after every rental turnover to protect your property and your tenants.
For property managers handling move-in and move-out situations, this move-in cleaning guide covers the full scope of what a thorough reset should include. Reviewing professional cleaning standards can also help you set clear expectations for any cleaning service you hire.
What most kitchen cleaning guides miss: Routine habits that change everything
Most guides focus entirely on the deep clean itself and overlook the habits that determine how quickly your kitchen gets dirty again. In our experience working with homeowners and property managers across St. Augustine, the biggest factor in kitchen hygiene is not the deep clean. It is what happens in the days between cleans.
Homeowners consistently underestimate how much a quick daily wipe-down of the stovetop, counters, and sink prevents stubborn grease from forming. Grease that sits for days bonds to surfaces and requires far more effort to remove. Wiping it up the same day takes 2 minutes. Scrubbing it off a week later takes 20.
Another common mistake is sanitizing without cleaning first. Disinfectant applied over grease or food residue does not work effectively. The CDC is clear that cleaning high-touch surfaces daily reduces how often deep cleaning is needed. Clean first, then sanitize.
Pro Tip: Keep a spray bottle of diluted dish soap and a microfiber cloth on the counter. A 60-second wipe-down after cooking each night prevents the majority of buildup that makes deep cleaning feel overwhelming. This deep cleaning guidance can help you build a schedule that balances daily habits with periodic deep cleans.
Professional deep cleaning services for St. Augustine homes and rentals
If you want guaranteed results without spending your weekend scrubbing, professional deep cleaning is the most efficient option available to you.

Our team at Lemon Maids provides deep cleaning services tailored to St. Augustine homeowners and property managers. We cover every area covered in this guide and more, from appliance interiors to ventilation hoods and hidden corners. For rental properties, Airbnb hosts, and offices, we also offer commercial cleaning solutions designed to meet higher-frequency turnover demands. Whether you need a one-time reset or a recurring schedule, we can match the service to your situation. Get in touch today to get an instant quote and see how we can keep your kitchen consistently clean.
Frequently asked questions
How often should I deep clean my kitchen?
A full kitchen deep clean is recommended every 3 to 4 months. Daily maintenance reduces how often a full deep clean is needed by preventing grease and bacteria from accumulating.
Are natural cleaners like baking soda and vinegar effective for deep cleaning?
Yes, baking soda and vinegar are safe and effective for most kitchen grease and odors. Both ingredients tackle grease without damaging surfaces when used correctly.
What’s the best order for deep cleaning a kitchen?
Start at the top with cabinets and light fixtures, then move to appliances, counters, and the sink, and finish with the floors. This top-to-bottom sequence prevents you from recontaminating areas you have already cleaned.
How long does a kitchen deep clean usually take?
A thorough deep clean typically takes 4 to 6 hours for a full kitchen. Focused resets of the dirtiest areas can be completed in about an hour.
Why is ventilation hood cleaning important for property managers?
Grease buildup in ventilation hoods creates a direct fire hazard. Keeping hoods grease-free protects the property and ensures tenant safety between rental stays.
Recommended
Comments