
How to Clean After Renovation for Pristine Results
- jeffwashausen
- Feb 7
- 7 min read

Messy renovations in St. Augustine, Ponte Vedra, and Nocatee can turn prized homes and vacation rentals into chaotic spaces overnight. Tackling the aftermath requires more than a quick sweep. A thorough visual assessment and strategic supply gathering sets the foundation for a safe, healthy post-renovation cleanup. This guide offers efficient techniques to handle debris, minimize dust, and protect indoor air quality while helping you reclaim your property’s comfort and sparkle.
Table of Contents
Quick Summary
Key Takeaway | Explanation |
1. Conduct a thorough assessment | Begin by assessing the renovation area for debris and challenges to streamline your cleaning process. |
2. Sort debris for efficient disposal | Categorize waste into recyclables, trash, and reusable materials to promote responsible waste management. |
3. Use proper cleaning techniques | Use effective strategies like working from top to bottom and focusing on high-dust areas for optimal cleaning. |
4. Pay attention to fine dust | Fine dust can settle on surfaces; target it using specialized tools and techniques for a healthier environment. |
5. Conduct a final inspection | After cleaning, thoroughly inspect all areas to ensure no dust or debris remains, documenting any issues for correction. |
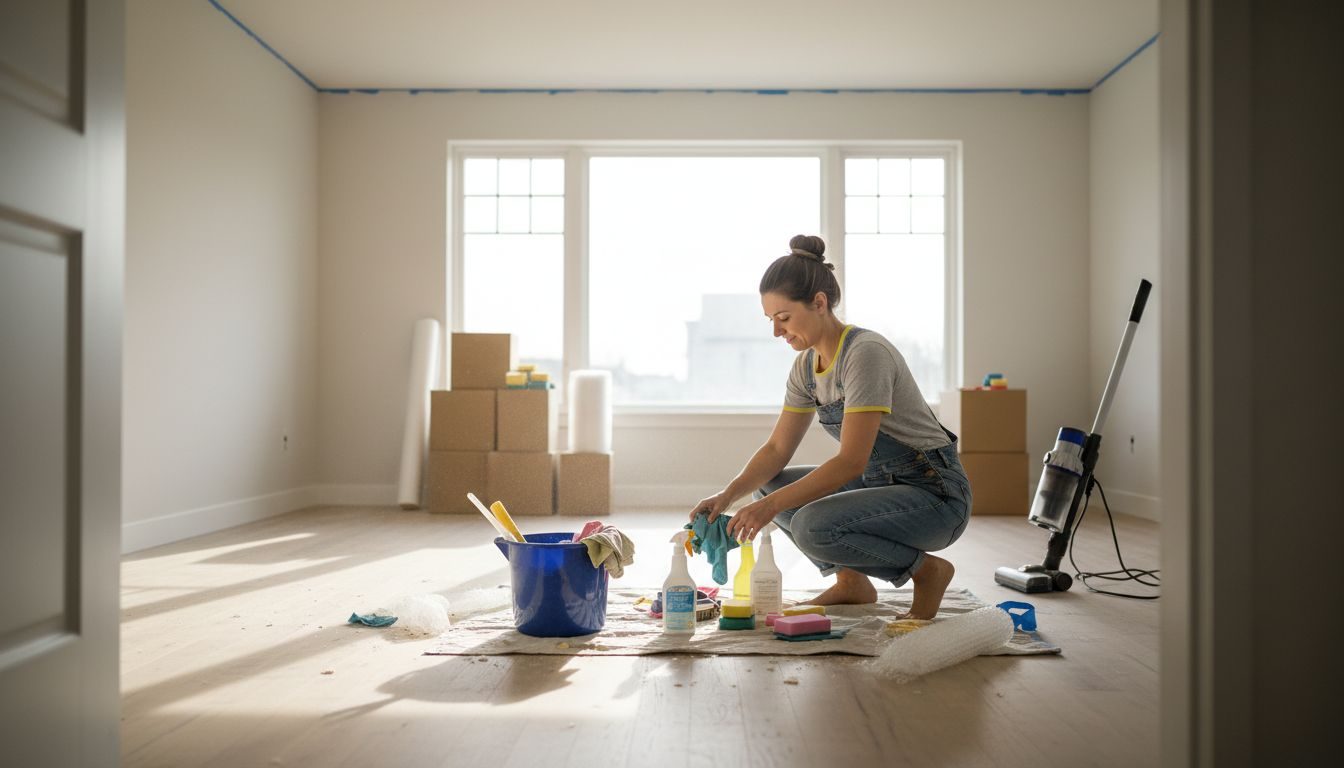
Step 1: Assess the Renovation Mess and Gather Supplies
Navigating the aftermath of a renovation requires strategic planning and the right approach. This initial step helps you transform chaos into cleanliness by thoroughly understanding the scope of your post-renovation cleanup.
Begin by conducting a comprehensive visual assessment of the renovation area. Walk through each space systematically, noting the types of debris, dust distribution, and specific cleaning challenges. Post-renovation waste management involves more than just sweeping - you need a strategic approach to handling different materials effectively.
Gather your cleaning supplies before starting. Your essential kit should include:
Heavy-duty trash bags
Microfiber cloths
HEPA-filter vacuum cleaner
Protective gloves and masks
All-purpose cleaner
Glass cleaner
Extendable duster
Bucket and mop
A thorough initial assessment prevents multiple cleaning attempts and saves significant time and energy.
Sort renovation debris into categories: recyclables, trash, and potential reusable materials. This approach not only streamlines your cleaning process but also supports environmentally responsible waste management.
Here’s how common post-renovation waste types should be handled:
Waste Type | Disposal Method | Environmental Impact |
Drywall scraps | Recycle if possible | Low if properly recycled |
Paint cans | Hazardous waste center | High if not disposed safely |
Wood offcuts | Reuse or compost | Minimal if repurposed |
Tile and concrete | Local construction dump | Moderate if landfilled |
Plastic packaging | Recycle or trash | High if not recycled |
Pro Tip: Start cleaning from the top down - begin with ceiling and high surfaces, then work toward floors to ensure you capture all dust and debris efficiently.
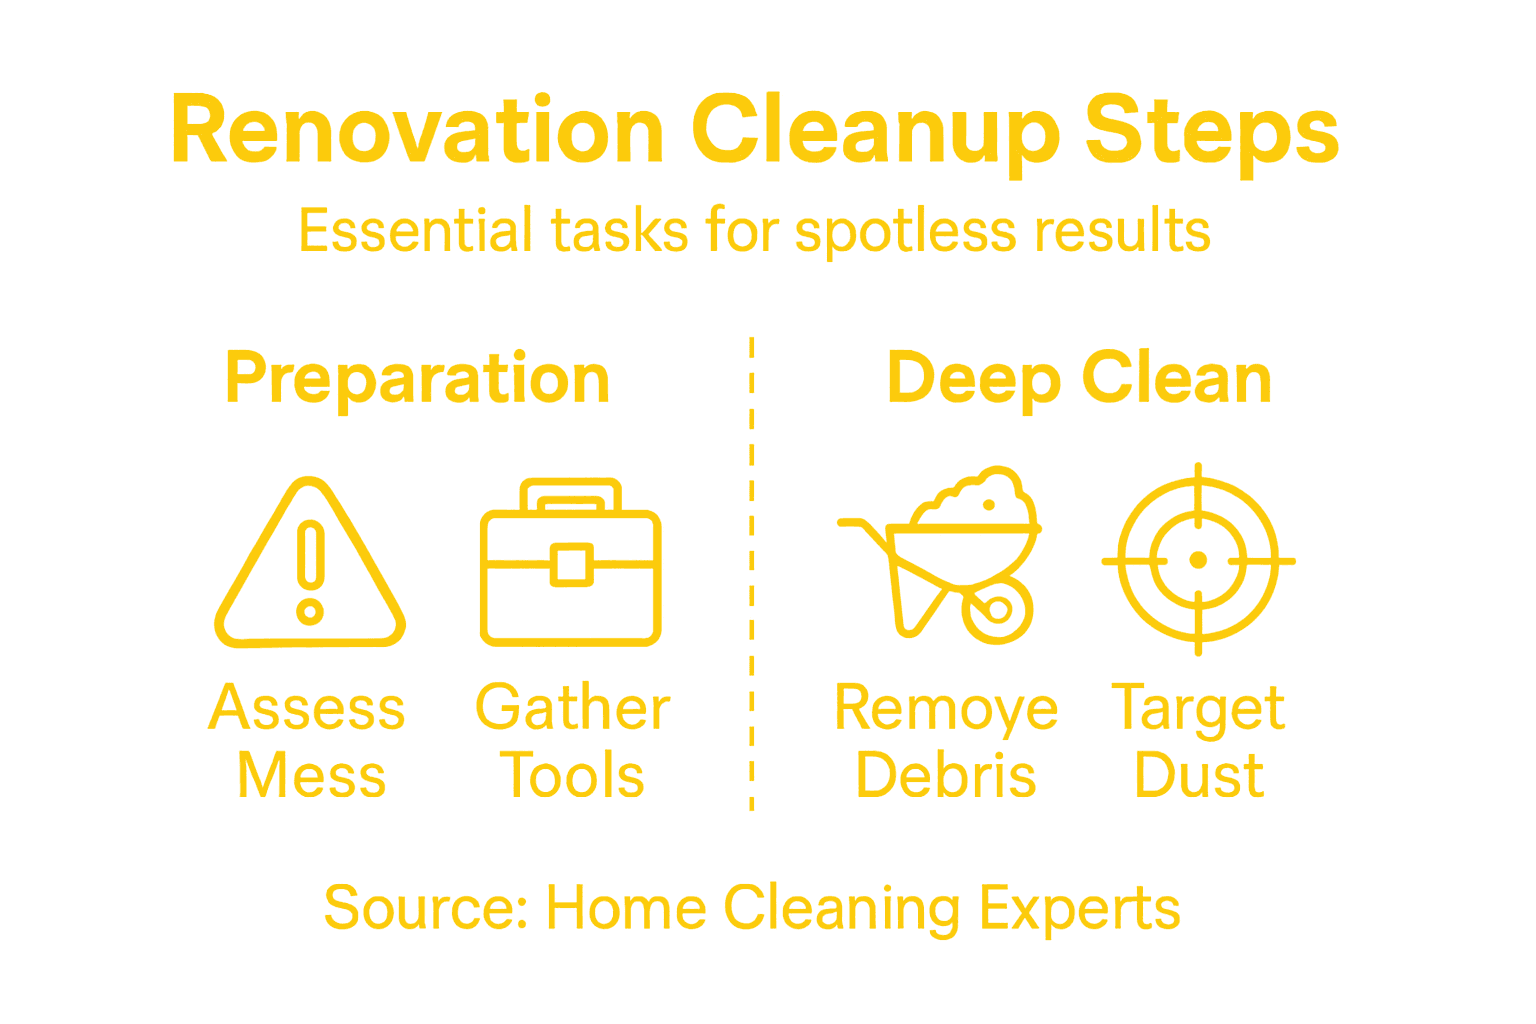
Step 2: Remove Large Debris and Dust Thoroughly
Now that you have assessed your renovation area, it is time to tackle the most challenging part: removing large debris and thoroughly eliminating dust. This critical stage transforms your messy renovation site into a clean, habitable space.
Construction debris removal requires a systematic approach. Start by putting on protective gear like dust masks and gloves, then proceed with a strategic cleaning method. Your primary tools will be heavy-duty trash bags, industrial vacuums, and microfiber cloths.
Begin your debris removal process with these key steps:
Collect large construction materials first
Separate recyclable materials from general waste
Use heavy-duty trash bags for efficient disposal
Break down larger pieces of debris into manageable sizes
Systematic debris removal prevents cross-contamination and ensures a more thorough cleaning process.
Focus on high-dust areas like windowsills, baseboards, and ceiling corners. Use an extendable duster or vacuum with attachments to reach difficult spots. For hard surfaces, use microfiber cloths that trap dust effectively instead of just spreading it around.
Pro Tip: Work from top to bottom in each room, allowing dust and debris to settle downward, which makes final floor cleaning much more efficient.
Step 3: Target Fine Dust on Surfaces and Fixtures
After removing large debris, the real challenge begins - tackling the fine dust that seems to settle everywhere after a renovation. This microscopic menace can infiltrate every surface, from delicate electronics to kitchen countertops.
Indoor dust prevention requires a methodical and thorough approach. Start by gathering your specialized cleaning arsenal: microfiber cloths, HEPA-filter vacuum, damp mops, and clean white towels for maximum dust removal effectiveness.
Target dust strategically with these techniques:
Use microfiber cloths for smooth surfaces
Work from top to bottom in each room
Clean light fixtures and ceiling fans first
Vacuum upholstered furniture with HEPA attachments
Wipe down baseboards and window sills
Clean air vents and replace filters
Fine dust removal is not just about cleanliness - it’s about creating a healthy living environment.
Pay special attention to electronic devices, computer keyboards, and other sensitive equipment. Use compressed air for electronics and soft brushes for intricate fixtures. Always ensure your cloths are slightly damp - not wet - to trap dust effectively without spreading moisture.
Pro Tip: Wear a dust mask and change your cleaning cloth frequently to prevent redistributing dust across different surfaces.
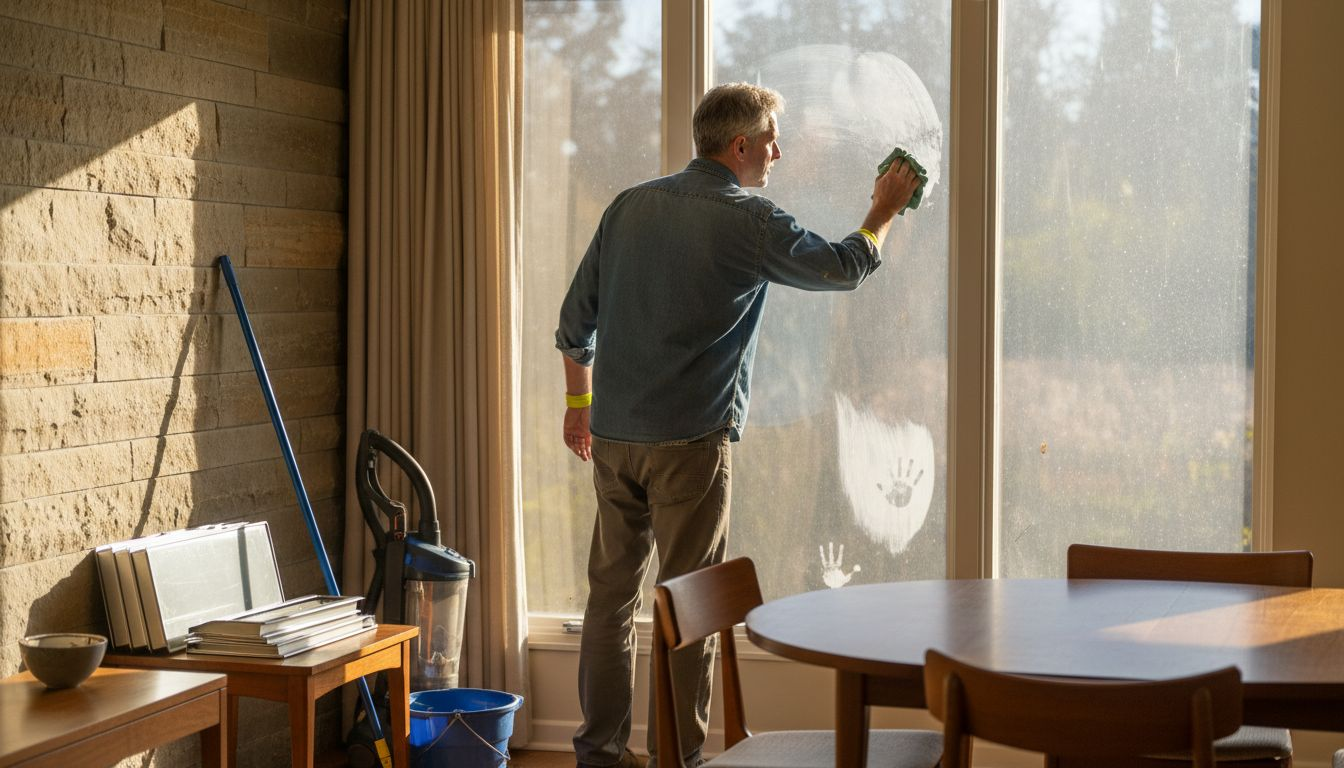
Step 4: Deep Clean Floors, Windows, and Air Vents
The final stage of post-renovation cleaning demands precision and thoroughness to restore your space to pristine condition. Focusing on floors, windows, and air vents will eliminate the last traces of construction dust and debris.
HVAC system cleaning requires careful attention to prevent future air quality issues. Begin by addressing your air vents systematically, ensuring complete dust removal and filter replacement.
Follow these comprehensive cleaning steps:
Remove vent covers carefully
Vacuum inside duct openings thoroughly
Wipe down vent covers with microfiber cloth
Replace HVAC filters
Clean surrounding wall areas around vents
Check for any remaining construction debris
Thorough cleaning of floors, windows, and vents transforms your renovation space from messy to magnificent.
Proceed with floor cleaning by selecting the appropriate method for each surface type. Hardwood floors need gentle microfiber mops, while tile and concrete surfaces can withstand more aggressive cleaning techniques. For windows, use a streak-free glass cleaner and microfiber cloths to achieve crystal-clear results.
Compare cleaning techniques for different floor types after renovation:
Floor Type | Recommended Cleaning Tool | Risk if Improperly Cleaned |
Hardwood | Microfiber mop | Scratching or water damage |
Tile | Stiff brush and mild soap | Grout stains or residue buildup |
Carpet | HEPA vacuum | Fine dust trapped in fibers |
Vinyl/Laminate | Damp mop, gentle cleaner | Warping from excess moisture |
Pro Tip: Always work from top to bottom - clean air vents first, then windows, and finish with floors to prevent re-depositing dust and debris.
Step 5: Inspect Your Work and Finalize Spaces
With your thorough cleaning complete, the final step involves a meticulous inspection to ensure every surface meets your highest standards. This critical review transforms your renovation from simply clean to truly pristine.
Post-renovation space inspection requires a systematic and comprehensive approach. Walk through each room with a critical eye, checking for any overlooked dust, debris, or imperfections that might have escaped previous cleaning stages.
Conduct your final inspection using these detailed checkpoints:
Check all surfaces for dust residue
Verify window and glass clarity
Test all electrical outlets and switches
Examine floor surfaces for scratches or remaining debris
Confirm air vents are clean and unobstructed
Validate overall room functionality
A thorough final inspection transforms your renovation from good to exceptional.
Document any remaining issues or areas that need touch-ups. Take photographs to track your progress and identify any spots requiring additional attention. Pay special attention to hard-to-reach areas like corners, baseboards, and behind fixtures that might have been missed during earlier cleaning stages.
Pro Tip: Use natural daylight when inspecting spaces, as it reveals dust and imperfections more effectively than artificial lighting.
Transform Your Renovation Cleanup Experience with Expert Help
Post-renovation cleaning can be overwhelming with challenges like stubborn dust, debris removal, and restoring pristine floors and air vents. If you are feeling the weight of meticulous tasks such as heavy-duty trash sorting, fine dust targeting with HEPA filtration, and deep cleaning delicate surfaces, you are not alone. These are critical steps outlined in the guide to achieving a spotless, healthy living environment after construction work.
Why struggle through hours of exhausting cleaning when professional support is just one click away Discover how specialized post construction cleaning services from My Lemon Maids can save your time and energy by expertly handling every stage from debris removal to deep air vent cleaning.

Take control of your renovated space today and enjoy a flawless, dust-free home or office. Visit My Lemon Maids now to schedule your customized cleaning service and experience the peace of mind that comes with trusted expertise and thorough care.
Frequently Asked Questions
How do I start cleaning after a renovation?
Begin by assessing the renovation area to understand the types of debris and dust present. Conduct a thorough visual assessment and gather your cleaning supplies, such as heavy-duty trash bags and a HEPA-filter vacuum.
What is the best method for removing large debris after renovation?
To remove large debris effectively, collect the biggest construction materials first and separate recyclables from general waste. Use heavy-duty trash bags for disposal and break down larger pieces of debris into manageable sizes for easier handling.
How can I efficiently clean fine dust after a renovation?
Use microfiber cloths and a HEPA-filter vacuum to target fine dust on surfaces thoroughly. Start from the top of each room, cleaning light fixtures and ceiling fans first to ensure you capture all particles without spreading dust around.
What steps should I take to clean the floors after renovation?
Choose the appropriate cleaning method based on your floor type—use a microfiber mop for hardwood and a stiff brush with mild soap for tile. Always clean floors last to avoid re-depositing dust and debris from other areas.
How do I conduct a thorough final inspection after cleaning?
Walk through each room with a critical eye, checking for any remaining dust, debris, or imperfections. Focus on accessing hard-to-reach areas, such as corners and behind fixtures, to ensure a pristine end result.
What tools are essential for post-renovation cleaning?
Essential tools include heavy-duty trash bags, microfiber cloths, a HEPA-filter vacuum, and an extension duster. Gather these before starting your cleaning to streamline the process and ensure no items are missed.
Recommended
Comments