Standard Cleaning Step by Step for Homes and Offices
- jeffwashausen
- Jan 19
- 8 min read

Most American homeowners and property managers underestimate how much time cleaning can steal from their day. In areas like St. Augustine, Ponte Vedra, and Nocatee, where high foot traffic and changing weather quickly create messes, a strategic cleaning routine makes all the difference. This guide breaks down every step, revealing practical methods that maximize efficiency and help you maintain healthier, fresher spaces without wasted effort.
Table of Contents
Quick Summary
Key Point | Explanation |
1. Gather and Organize Supplies | Collect all cleaning tools in one place for efficient workflow. Ensure products are functional and have clear instructions. |
2. Dust from Top to Bottom | Start cleaning high surfaces to avoid resettling dust. Use microfiber cloths for an effective dust capture technique. |
3. Disinfect High-Touch Areas | Focus on doorknobs and switches using EPA-approved disinfectants. Change cloths to prevent cross-contamination. |
4. Vacuum Before Mopping | Remove loose dirt before introducing moisture to avoid damage. Use appropriate attachments for different floor types. |
5. Conduct a Final Inspection | Systematically check cleaned areas for missed spots and confirm cleanliness. Restock supplies and address any touch-ups immediately. |
Step 1: Prepare Supplies and Clear Spaces
Successful cleaning starts with smart preparation. Your goal is to set up a systematic approach that saves time and makes the entire process smoother and more efficient.
Begin by gathering all your cleaning tools and products in one central location. Efficient home cleaning requires strategic planning with careful product selection and organization. Collect microfiber cloths, paper towels, multipurpose cleaners, specialized surface solutions, trash bags, and protective gloves. Check that each product is full and functional. Read labels carefully to understand proper usage and safety instructions.
Next, clear your working spaces by removing clutter and obstacles. Put away books, magazines, electronic devices, and personal items from surfaces you plan to clean. This creates unobstructed areas that allow you to move quickly and thoroughly. Place fragile items in safe locations and ensure children and pets are supervised or in a separate area during cleaning to prevent accidents.
Lay out your supplies in the order you will use them, creating a logical workflow that minimizes unnecessary movement. Group similar products together and have a designated cleaning caddy or portable container to transport everything efficiently.
Pro tip: Always keep a small trash bag with you while cleaning to immediately discard waste and maintain an organized workflow.
Step 2: Dust Surfaces and Remove Debris
Dusting is a critical step in thoroughly cleaning your home or office space. Your objective is to systematically remove dust particles from all surfaces to create a healthier and more pristine environment.
Effective dust removal requires specific techniques and a strategic approach. Start from the highest surfaces in each room and work downward to prevent re-depositing dust. Use a microfiber cloth or a specialized duster to capture dust particles efficiently. Tackle surfaces like ceiling fans, light fixtures, shelves, picture frames, and window sills. Pay special attention to areas prone to dust accumulation such as electronics, baseboards, and corner spaces.
After dusting elevated surfaces, move to furniture and lower areas. Gently wipe tables, chairs, desks, and other horizontal surfaces using smooth motions. Systematic cleaning methods recommend damp wiping techniques to trap dust effectively without spreading it around. For fabric surfaces like couches or curtains, use a vacuum cleaner with an upholstery attachment to remove embedded dust and debris.
Before mopping or deep cleaning floors, use a dust mop or vacuum to collect loose particles. This prevents redistributing dust and ensures a more thorough cleaning process.
Pro tip: Invest in a microfiber duster with an extendable handle to easily reach high surfaces and ceiling corners without using a ladder.
Step 3: Clean and Disinfect High-Touch Areas
Cleaning and disinfecting high-touch surfaces is crucial for maintaining a healthy environment and preventing the spread of germs and bacteria. Your goal is to systematically sanitize areas that encounter frequent human contact.
Routine cleaning protocols target specific surfaces to reduce pathogen transmission. Focus on key areas such as doorknobs, light switches, countertops, faucets, remote controls, keyboards, phones, and cabinet handles. Use EPA approved disinfectant solutions and follow manufacturer instructions carefully. Wear protective gloves and ensure proper ventilation while cleaning. Spray the disinfectant directly onto a microfiber cloth rather than spraying surfaces directly to prevent oversaturation and potential damage to electronic equipment.
Standard infection prevention practices recommend thorough disinfection of high-contact zones. Work systematically from one end of the room to another, allowing sufficient contact time for disinfectants to effectively kill germs. Use different cloths for different areas to prevent cross-contamination. Pay extra attention to surfaces in kitchens and bathrooms where bacterial growth is most likely. Rinse or replace cleaning cloths frequently to maintain their effectiveness.
Remember that proper hand hygiene complements surface disinfection. Wash your hands thoroughly before and after cleaning to minimize the potential spread of germs.
Pro tip: Keep a dedicated microfiber cloth and EPA-approved disinfectant in each major room to make spot cleaning quick and convenient.
Step 4: Vacuum and Mop All Floors
Floor cleaning is a critical task that transforms the entire look and feel of your home or office. Your mission is to systematically remove dirt, dust, and debris from all floor surfaces while maintaining their specific material requirements.
Systematic floor cleaning begins with removing loose debris before introducing moisture. Start by thoroughly vacuuming or dust mopping all floor types to collect loose dirt, pet hair, and small particles. Begin at the farthest corner from the entrance and work your way backward to prevent tracking dirt onto cleaned areas. Use appropriate vacuum attachments for different surfaces like hardwood, tile, carpet, and area rugs. Pay special attention to corners, edges, and areas around furniture where dust and debris tend to accumulate.
Efficient floor maintenance requires careful material selection for mopping different surface types. Choose cleaning solutions specifically designed for your floor material to prevent damage. For hardwood floors, use a slightly damp mop with wood-specific cleaner. Tile and vinyl can handle more moisture, while laminate requires minimal water. Rinse your mop frequently and change water to avoid spreading dirt. Work in small sections, moving systematically to ensure complete coverage and prevent missed spots.
After mopping, allow floors to air dry completely. Open windows or use fans to speed up the drying process and prevent water spots or potential slip hazards.
Pro tip: Invest in microfiber mop heads that can be easily washed and reused to save money and reduce waste.
Here’s a quick reference for choosing cleaning products and tools for different surfaces:
Surface Type | Best Cleaning Product | Recommended Tool |
Hardwood floors | Wood-specific floor cleaner | Microfiber mop |
Tile & vinyl | Multi-surface solution | Standard mop or vacuum |
Electronics | Alcohol-based disinfectant wipe | Microfiber cloth |
Fabric/upholstery | Fabric-safe cleaner | Vacuum with attachment |
Kitchens/Bathrooms | EPA-approved disinfectant | Separate microfiber cloth |
Step 5: Inspect Rooms and Finalize Details
The final stage of cleaning is a crucial quality control process that ensures thoroughness and excellence. Your objective is to carefully review each cleaned area and confirm that all cleaning standards have been met.
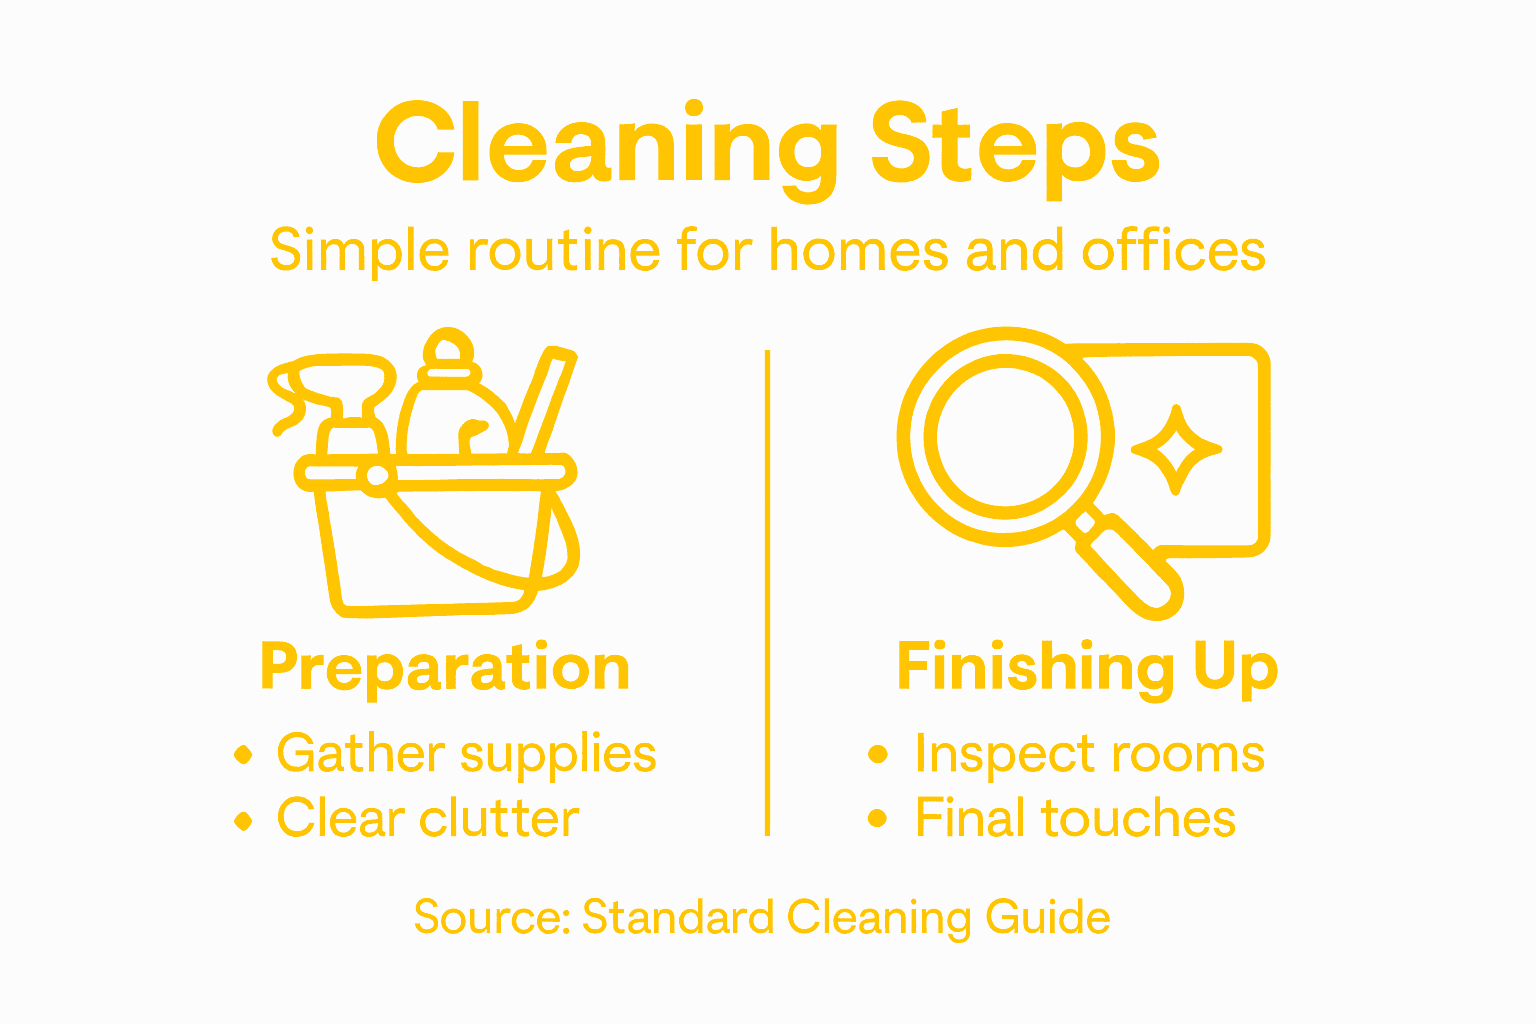
Final inspection involves comprehensive surface assessment and meticulous attention to detail. Walk through each room systematically, scanning surfaces from top to bottom. Check corners, baseboards, and hard to reach areas for any missed spots. Look for streaks on windows, dust on shelves, or fingerprints on surfaces. Verify that all surfaces appear clean, disinfected, and restored to their optimal condition. Pay special attention to high traffic zones and surfaces that were previously highlighted during the cleaning process.
Cleaning quality control requires thorough final evaluation and proper equipment management. Organize and sanitize all cleaning tools used during the process. Wash and dry microfiber cloths, rinse mop heads, and empty vacuum cleaners. Store cleaning supplies in their designated areas, ensuring they are ready for future use. Take a moment to restock any depleted cleaning supplies and dispose of trash collected during cleaning.
If any areas require touch up or additional attention, address them immediately while the cleaning supplies are still accessible. This final walkthrough ensures a comprehensive and professional cleaning result.
The following table highlights common cleaning mistakes and ways to avoid them:
Mistake | Why It’s a Problem | How to Avoid |
Skipping high surfaces | Dust falls onto cleaned areas | Dust top to bottom |
Using wrong cleaner | Damages surfaces or ineffective | Read labels carefully |
Cross-contaminating cloths | Spreads germs between rooms | Use color-coded cloths |
Over-wetting floors | Damages surfaces and creates slips | Use proper amount of water |
Pro tip: Keep a small notebook or use your phone to quickly document any areas that might need extra attention during your next cleaning session.
Take the Stress Out of Your Standard Cleaning Routine
The detailed steps in “Standard Cleaning Step by Step for Homes and Offices” highlight the challenges of keeping your space spotless from dusting high surfaces to disinfecting high-touch areas and managing floor care. Many homeowners and office managers struggle with spending too much time on cleaning or missing critical details like proper disinfectant use and thorough final inspections. Avoid the frustration of inefficient cleaning or worrying about cross-contamination by trusting professionals who follow systematic approaches for superior results.

Experience the difference with My Lemon Maids, offering expert residential and commercial cleaning tailored to your needs including deep cleaning, standard cleaning, and office cleaning services. Our teams use safe, EPA-approved solutions and proven methods to tackle every step from dust removal to mop and vacuum. Don’t let cleaning overwhelm you—take control now with reliable help that guarantees a healthier, gleaming environment. Visit My Lemon Maids to schedule your appointment and discover how easy maintaining a pristine space can be.
Frequently Asked Questions
What supplies do I need for a standard cleaning process?
To effectively clean your home or office, gather supplies such as microfiber cloths, multipurpose cleaners, trash bags, protective gloves, and specialized surface solutions. Organize these items in a central location to streamline your cleaning process and save time.
How do I systematically dust surfaces in my home or office?
Start dusting from the highest surfaces and work your way downwards to avoid redistributing dust. Use a microfiber cloth or specialized duster to capture dust, ensuring you cover areas like ceiling fans, light fixtures, and shelves thoroughly.
What are the best practices for disinfecting high-touch areas?
Focus on cleaning frequently contacted surfaces such as doorknobs, light switches, and countertops using an EPA-approved disinfectant. Always spray the disinfectant onto a microfiber cloth first, and allow sufficient contact time for it to eliminate germs effectively.
How should I vacuum and mop different floor types?
Begin by vacuuming or dust mopping to remove loose dirt and debris, then follow up with mopping using the correct cleaning solution for your floor type. For hardwood, use a damp mop with a wood-specific cleaner, while tile and vinyl can tolerate more moisture for better cleaning results.
What should I look for during the final inspection after cleaning?
Conduct a thorough walkthrough of each room, checking for any missed spots, streaks, or fingerprints on surfaces. Ensure all areas appear clean and tidy, and restock any cleaning supplies if necessary for future use.
How can I avoid common cleaning mistakes?
To prevent common mistakes like skipping high surfaces or using the wrong cleaners, always dust from top to bottom and read product labels carefully. Use color-coded cloths for different areas to prevent cross-contamination and ensure effective cleaning.
Recommended
Comments