
Residential Window Cleaning Workflow for Brighter Homes
- jeffwashausen
- Jan 19
- 8 min read

A freshly cleaned window can increase property value by up to 10 percent, making curb appeal a true american priority. For homeowners in St. Augustine, Ponte Vedra, and Nocatee, spotless windows signal pride and help homes stand out in every neighborhood. Whether you are prepping for a sale or just want your family to enjoy clearer views and brighter rooms, this guide delivers proven window cleaning steps for safe, streak-free results.
Table of Contents
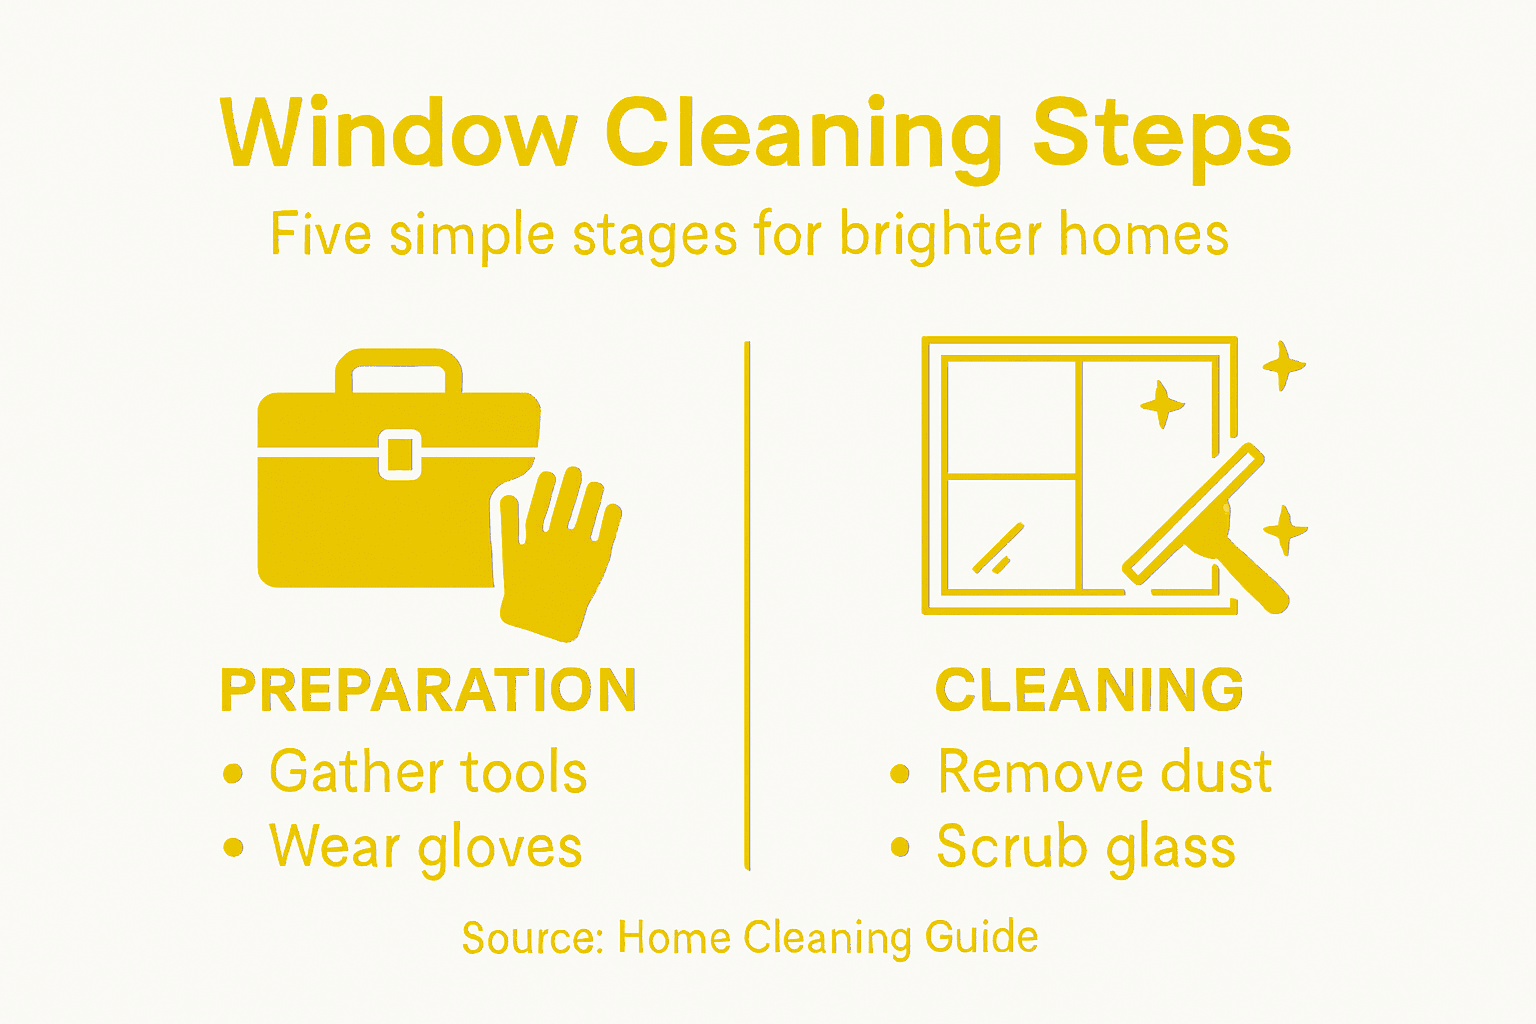
Quick Summary
Key Takeaway | Explanation |
1. Gather all cleaning tools first | Assemble a sturdy bucket, microfiber cloths, squeegee, and cleaning solution to streamline your work. |
2. Remove dust from frames before cleaning | Dusting window frames prevents scratches and helps identify maintenance issues. Use a soft brush or vacuum. |
3. Use proper techniques for applying solution | Mix vinegar and water or use a commercial cleaner, applying in a systematic manner for streak-free results. |
4. Dry windows meticulously for clarity | Use a clean microfiber cloth, working from top to bottom, to ensure a streak-free finish when drying windows. |
5. Inspect for flawless results after cleaning | Check windows in natural light from multiple angles to identify any missed spots and touch up as necessary. |
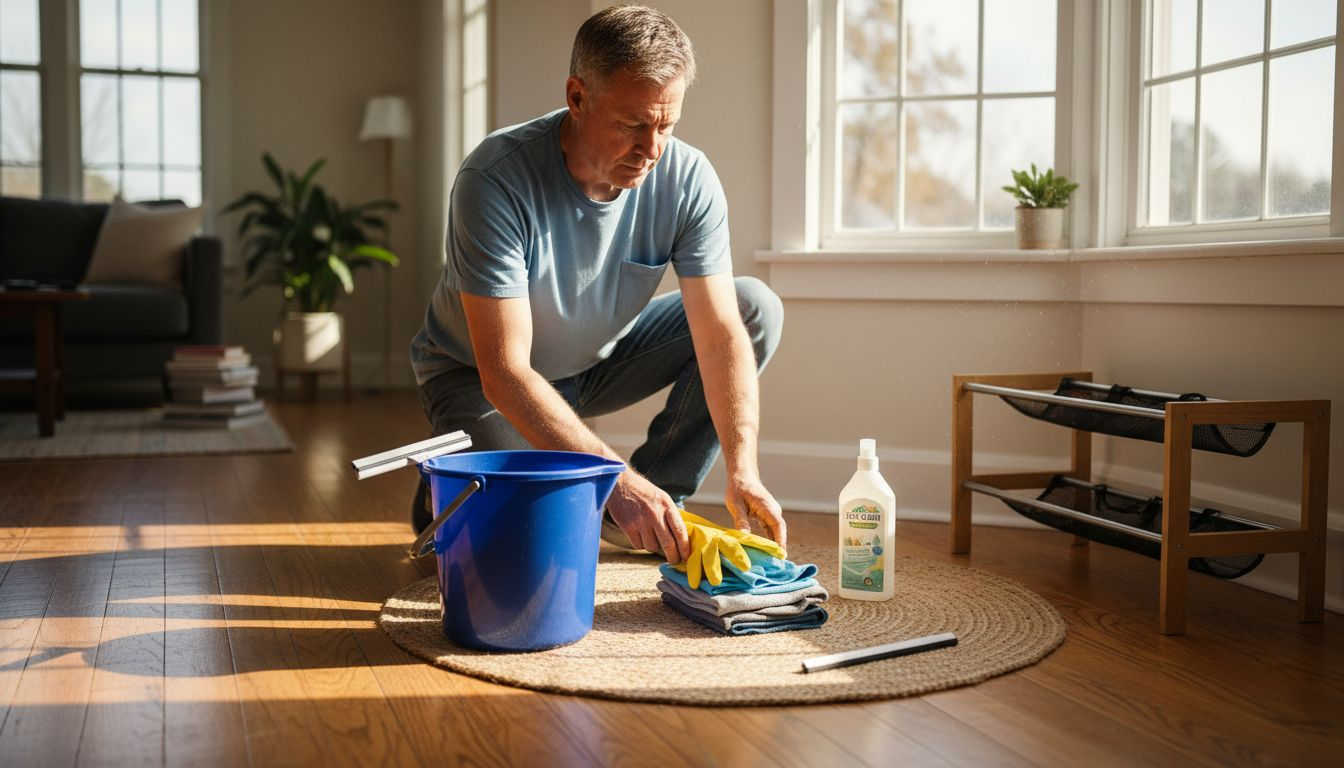
Step 1: Prepare cleaning tools and protective materials
Getting your window cleaning project started means gathering the right equipment and safety gear. This crucial preparation ensures an efficient and safe cleaning experience. You’ll want to collect tools that make your window cleaning process smooth and protect yourself from potential accidents.
Start by assembling your cleaning arsenal. Grab a sturdy bucket, microfiber cloths, a squeegee with a rubber blade, extension pole, window scraper, and a reliable cleaning solution. Safer cleaning practices recommend using environmentally friendly products that minimize chemical exposure while effectively removing dirt and grime. Select cleaners labeled with Safer Choice or Green Seal certifications for optimal results.
Protective gear is non negotiable during window cleaning. Put on chemical resistant rubber gloves that cover your wrists, safety glasses to shield your eyes from splashes, and wear clothing that allows comfortable movement. Consider wearing non slip shoes and an apron to protect your clothes from potential solution splatters. Homemade cleaners can be gentle yet effective when mixed correctly, but always prioritize your personal safety during the cleaning process.
Pro Tip: Organize all your cleaning tools and protective gear in a single easy to carry container before starting to streamline your window cleaning workflow and prevent unnecessary trips back and forth.
Step 2: Remove dust and debris from window frames
Before diving into window cleaning, you need to remove accumulated dust and debris from window frames to ensure a thorough and effective cleaning process. This initial step prevents scratching your windows and helps you identify any potential maintenance issues lurking in the frames.
Proper debris removal techniques are crucial for maintaining window integrity. Start by using a soft bristled brush or microfiber cloth to gently sweep away loose dust and cobwebs from window frames. Work systematically around the entire frame edges, paying special attention to corners and crevices where dirt tends to accumulate. For stubborn debris, use a vacuum cleaner with a soft brush attachment to prevent scratching the surface.
Once you’ve removed dry debris, prepare a gentle cleaning solution of warm water and mild dish soap. Dust control measures recommend minimizing airborne particles during cleaning, so work carefully and avoid creating dust clouds. Dip a clean microfiber cloth into the solution and wring it out thoroughly so it’s damp not soaking wet. Wipe down the window frames carefully, removing any remaining dirt or grime. For wooden frames, be extra cautious about moisture and dry immediately after cleaning to prevent water damage.
Pro Tip: Keep a separate microfiber cloth for dry dusting and another for wet cleaning to prevent spreading dirt and maintain optimal cleaning efficiency.
Step 3: Apply cleaning solution and scrub glass surfaces
Now comes the critical moment of transforming your windows from dusty to sparkling clean. Window cleaning requires precision and the right technique to achieve streak-free results that make your entire home look brighter and more inviting.
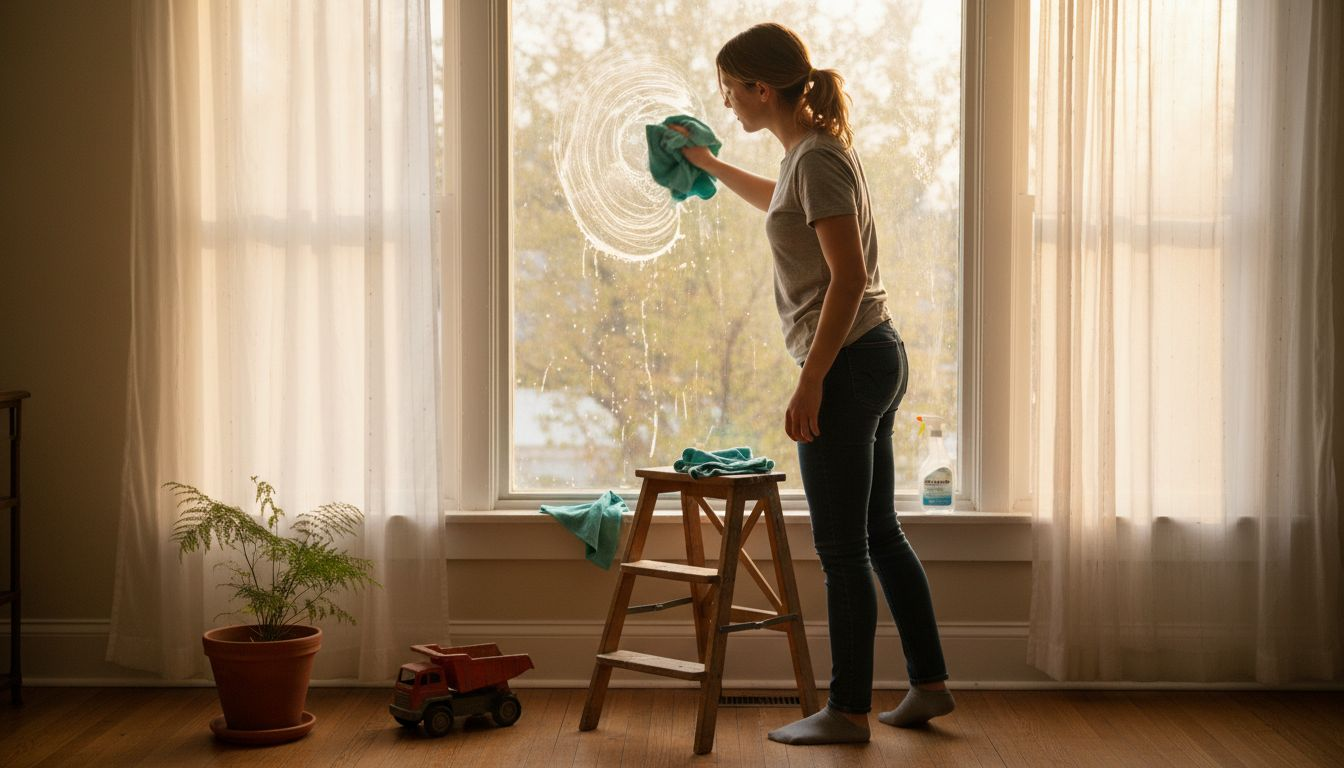
Advanced surface cleaning techniques demonstrate that effective glass cleaning involves more than just random wiping. Mix a professional cleaning solution using one part white vinegar to four parts water in a spray bottle. Alternatively, use a commercial glass cleaner designed for residential use. Spray the solution directly onto the glass surface or onto a microfiber cloth to prevent oversaturation.
Here’s a quick comparison of common window cleaning solution options:
Cleaning Solution Type | Pros | Cons |
Commercial Glass Cleaner | Convenient, fast-acting, streak-free | Can contain strong chemicals |
Vinegar & Water Homemade | Eco-friendly, inexpensive, non-toxic | Strong smell, less cutting power |
Dish Soap & Water | Gentle on surfaces, widely available | May leave residue if not rinsed well |
Green Certified Cleaners | Minimal environmental impact, safe | Typically more expensive than others |
Work methodically by dividing the window into quadrants and using a circular motion to scrub away dirt and grime. Appropriate cleaning solutions help remove surface contaminants without damaging the glass. Use a soft microfiber cloth or a professional squeegee for the best results. Start from the top of the window and work your way down in smooth horizontal strokes, wiping the squeegee blade clean after each pass to prevent streaking. For stubborn spots, apply slightly more pressure or use a specialized glass scraper carefully to remove buildup.
Pro Tip: Clean windows on a cloudy day to prevent cleaning solution from drying too quickly and creating unsightly streaks.
Step 4: Wipe and dry windows for a streak-free finish
With your windows cleaned and solution applied, the final step is achieving that crystal-clear, professional-looking finish. This critical phase transforms your basic window cleaning into a truly impressive result that enhances your home’s overall appearance.
Advanced surface drying techniques highlight the importance of precise wiping methods. Use a high-quality microfiber cloth or a professional squeegee to remove remaining moisture. Start at the top of the window and work downward in smooth, consistent strokes. Angle your cloth or squeegee to direct water toward the bottom of the window, preventing drips and potential streaking.
Professional window drying practices recommend using a clean lint-free cloth for final buffing. Rotate your cloth frequently to ensure you are using a dry section each time. Pay special attention to the window edges and corners where moisture tends to accumulate. For interior windows, use vertical strokes on one side and horizontal on the other to easily identify and correct any remaining streaks. If you notice any residual marks, go over them gently with a dry portion of your microfiber cloth until the glass appears completely clear and luminous.
Pro Tip: Keep two microfiber cloths handy one slightly damp for initial wiping and one completely dry for final polishing to guarantee a flawless finish.
Step 5: Inspect windows to ensure flawless results
After completing your window cleaning, the final critical step is a thorough inspection to guarantee a professional finish. This meticulous review ensures that every inch of your windows meets the highest standards of cleanliness and clarity.
Professional window inspection techniques recommend using natural lighting to reveal hidden streaks and missed spots. Position yourself near a window with bright, natural sunlight streaming in and carefully examine the glass from different angles. Tilt your head and move sideways to catch any lingering water spots, smudges, or areas that might need additional attention. Use a clean microfiber cloth to quickly touch up any imperfections you discover.
Systematic window examination principles suggest checking both interior and exterior surfaces methodically. Start at the top left corner and work your way systematically across and down the window. Check window frames, corners, and edges for any remaining dirt or cleaning solution residue. Run your fingers gently along the glass surface to feel for any rough patches or missed spots that might not be immediately visible. If you find any areas that need additional cleaning, reapply your cleaning solution and wipe carefully until the window is completely clear and spotless.
To ensure professional results, consider these inspection and finishing steps side by side:
Step | What to Do | Added Value |
Use Natural Lighting | Check windows from different angles | Reveals hidden streaks or spots |
Final Buffing | Wipe with lint-free dry cloth | Achieves flawless, clear appearance |
Inspect Frames & Edges | Examine corners and borders | Prevents overlooked dirt or residue |
Feel Surface | Run hand over cleaned glass | Detects tough-to-see imperfections |
Pro Tip: Keep a small flashlight handy to help illuminate hard to see areas and catch any subtle streaks or missed spots during your final window inspection.
Elevate Your Home’s Shine with Expert Window Cleaning Support
Keeping your windows spotless is more than just about appearance It is a challenge that requires the right tools and techniques to avoid streaks and damage The detailed “Residential Window Cleaning Workflow for Brighter Homes” highlights common pain points such as removing stubborn debris applying the perfect cleaning solution and achieving a flawless streak-free finish These steps can be time-consuming and physically demanding especially without professional experience or equipment
If you desire truly brilliant windows that brighten your living space without the hassle consider professional help from My Lemon Maids Our expert team uses safe solutions and proven cleaning practices to transform your windows We specialize in window cleaning and offer comprehensive services including deep cleaning and post construction cleaning discover our full range of cleaning solutions designed to make your home sparkle and protect your investment
Ready to stop worrying about dusty frames or streaky glass and enjoy clearer views today

Trust the professionals who understand every detailed step of window care and deliver flawless results Contact us now at My Lemon Maids to schedule your expert window cleaning and experience brighter living spaces right away
Frequently Asked Questions
What tools do I need for residential window cleaning?
You need a sturdy bucket, microfiber cloths, a squeegee with a rubber blade, extension pole, window scraper, and a reliable cleaning solution. Assemble these items before starting to ensure an efficient cleaning process.
How should I properly prepare window frames before cleaning?
Remove dust and debris from window frames using a soft brush or microfiber cloth. Make this a routine step to prevent scratching the glass and to identify any maintenance issues early on.
What is the best method for applying the cleaning solution?
Mix a cleaning solution using one part white vinegar to four parts water, or use a commercial glass cleaner. Spray the solution onto the glass or onto your microfiber cloth to prevent oversaturation and achieve even coverage.
How can I ensure a streak-free finish when drying windows?
Use a high-quality microfiber cloth or a professional squeegee to wipe away remaining moisture. Start at the top of the window and work down in smooth strokes, rotating your cloth frequently to maintain a dry section for buffing.
What should I look for when inspecting my cleaned windows?
Inspect windows in natural light to catch hidden streaks and missed spots. Check both interior and exterior surfaces methodically, feeling for rough patches or residue that may not be visible immediately.
How can I protect myself during the window cleaning process?
Always wear chemical-resistant rubber gloves, safety glasses, and clothing that allows for comfortable movement. Consider wearing non-slip shoes to prevent accidents while working on ladders or slippery surfaces.
Recommended
Comments