Master Office Cleaning Workflow for Healthier Workspaces
- jeffwashausen
- Jan 19
- 7 min read

Most American offices lose nearly 40 hours each year to disorganized cleaning routines and missed hygiene checkpoints. For office managers in St. Augustine, Ponte Vedra, and Nocatee, a systematic approach is more than a preference—it is a necessity for keeping workspaces safe and productive. Discover how targeted strategies and smart supply management can make routine cleaning simpler, minimize disruptions, and safeguard your team’s well-being.
Table of Contents
Quick Summary
Key Takeaway | Explanation |
1. Assess your workspace layout | Understanding your office layout helps identify cleaning priorities and areas that need attention. |
2. Organize workstations efficiently | Decluttering and organizing workspaces maximizes productivity and simplifies the cleaning process. |
3. Focus on high-touch surfaces | Thorough cleaning of frequently touched areas reduces the spread of germs and promotes health. |
4. Use appropriate cleaning methods | Different surfaces require specific cleaning tools and solutions to ensure effective cleaning. |
5. Regularly inspect and restock | Conducting inspections ensures cleanliness and keeps necessary supplies available for future cleanings. |
Step 1: Assess space and gather supplies
Before diving into your office cleaning workflow, you need to strategically plan your approach by understanding your workspace and assembling the right cleaning arsenal. Office space planning involves carefully evaluating your workspace layout and usage zones to optimize your cleaning strategy.
Start by walking through your entire office and creating a mental map of different areas. Note high traffic zones like reception, conference rooms, workstations, and common areas. Pay special attention to surfaces that accumulate more dust and grime: keyboards, computer monitors, desk edges, door handles, and shared equipment. Identify the specific materials in your workspace wood, glass, metal, fabric and understand their unique cleaning requirements. Some surfaces need gentle microfiber cloths, while others might require specialized cleaning solutions.
Once you have a clear understanding of your space, gather your supplies systematically. Create a comprehensive cleaning kit that includes microfiber cloths, all-purpose cleaners, glass cleaners, disinfectant wipes, disposable gloves, trash bags, and specialized tools for electronics and delicate surfaces. Procurement guidelines suggest having extra supplies on hand to prevent interruptions during the cleaning process.
Here is a quick comparison of cleaning methods and their ideal use cases for different office surfaces:
Surface Type | Recommended Cleaning Method | Best Tools |
Wood desks | Damp microfiber wiping | Wood cleaner, cloth |
Glass surfaces | Streak-free glass cleaning | Glass spray, squeegee |
Metal fixtures | Disinfect and polish | All-purpose cleaner, polish cloth |
Electronic devices | Gentle dusting and disinfection | Microfiber cloth, disinfectant wipe |
Fabric chairs | Spot cleaning and vacuuming | Upholstery spray, handheld vacuum |
Pro Tip: Keep a small caddy or portable cleaning carrier that allows you to move efficiently between different workspace zones without constantly returning to your primary supply storage.
Step 2: Organize workstations and high-traffic areas
Now that you have assessed your workspace, it is time to strategically organize workstations and optimize high-traffic zones for efficient cleaning and maximum productivity. Workplace organization involves creating systematic arrangements that minimize clutter and enhance workflow.
Start by decluttering individual workstations. Remove unnecessary papers, outdated documents, and random items that accumulate over time. Group essential work tools and supplies within easy reach, creating designated zones for frequently used items. Implement a clean desk policy where employees clear their workspace at the end of each day, ensuring surfaces are easily accessible for thorough cleaning. Pay special attention to electronics like keyboards, monitors, and phones, which can harbor significant amounts of dust and bacteria.
For high-traffic areas like reception, conference rooms, and common spaces, office space planning becomes crucial. Create clear pathways that allow smooth movement and minimize obstacles. Arrange furniture and equipment to facilitate easy navigation and cleaning. Consider using storage solutions like shelves, cabinets, and labeled containers to keep shared areas organized and reduce visual clutter.
Pro Tip: Color-code storage containers and designate specific zones for different types of office supplies to streamline organization and make cleaning more systematic.
Step 3: Clean surfaces and disinfect touchpoints
With your workspace organized, it is time to focus on comprehensive surface cleaning and disinfection. Cleaning high-touch surfaces is critical for reducing pathogen spread and maintaining a healthy work environment.
Begin by gathering appropriate cleaning supplies specific to different surface materials. Start with visibly dirty surfaces, using soap and water to remove initial grime before applying disinfectant. Pay special attention to high-touch areas like doorknobs, light switches, keyboards, phones, shared equipment, conference table surfaces, and reception counters. Use microfiber cloths to prevent cross-contamination and ensure thorough cleaning. Follow manufacturer instructions carefully for each cleaning product, noting recommended contact time and concentration levels to maximize effectiveness.
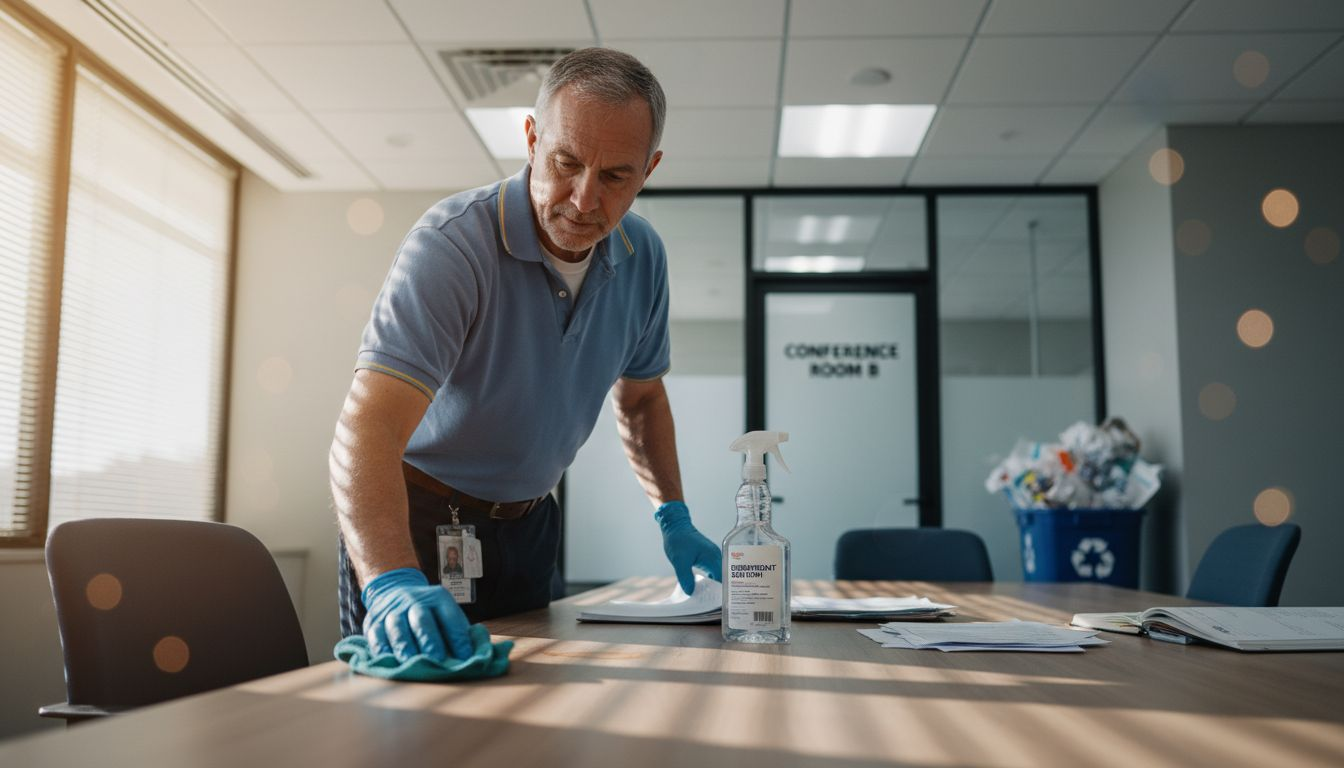
For comprehensive disinfection, follow CDC guidelines by working systematically from cleaner to dirtier areas. Wear appropriate personal protective equipment like disposable gloves and consider using color-coded cleaning cloths to prevent cross-contamination between different workspace zones. Always allow surfaces to air dry completely after disinfecting to ensure maximum germ elimination.
Pro Tip: Keep a dedicated set of cleaning supplies for different workspace zones to prevent accidentally spreading germs between areas.
Step 4: Vacuum, sweep, and mop all floors
Floor cleaning is a critical component of maintaining a professional and hygienic workspace. Floor cleaning techniques vary depending on surface type and require a systematic approach to effectively remove dirt and prevent potential slip hazards.
Begin by clearing the floor of movable objects like chairs, trash cans, and small equipment to ensure complete access. Start with vacuuming or sweeping to remove loose dirt, dust, and debris. Use different techniques for different floor surfaces: carpeted areas require a vacuum with adjustable height settings, while hard floors need either a microfiber dust mop or a commercial sweeper. Pay special attention to corners, edges, and areas beneath furniture where dust and dirt tend to accumulate.
After removing loose debris, prepare for mopping by selecting a cleaning solution appropriate to your floor type. Routine floor cleaning requires careful attention to prevent water damage or residue buildup. For wood floors, use a slightly damp mop with a wood-specific cleaner. Tile and linoleum surfaces can handle more moisture, but always wring out your mop to avoid excessive water. Work in sections, rinsing your mop frequently and changing the water when it becomes visibly dirty to prevent spreading grime.
Pro Tip: Always work from the farthest corner of the room toward the exit to avoid walking on freshly cleaned surfaces.
Step 5: Inspect cleanliness and restock supplies
The final stage of your office cleaning workflow involves a comprehensive inspection and strategic resupply process. Supply management procedures are critical for maintaining workplace standards and ensuring continuous cleanliness.
Begin by systematically walking through each cleaned area, checking for any missed spots or areas requiring additional attention. Examine surfaces for streaks, dust, or remaining debris that might have been overlooked during initial cleaning. Take note of specific zones that consistently need more thorough cleaning and make mental notes for future improvement. Verify that all trash receptacles are emptied, surfaces are sanitized, and floors maintain their freshly cleaned appearance.
Next, conduct a supply inventory check. Assess your cleaning equipment and consumables such as paper towels, disinfectant wipes, gloves, and cleaning solutions. Replenish items that are running low, replacing worn cleaning tools and ensuring you have sufficient stock for future cleaning sessions. Regular workspace inspection helps prevent operational disruptions and supports a consistently clean environment. Organize your cleaning supplies in a designated storage area, making them easily accessible for the next cleaning session.
Pro Tip: Create a digital or physical inventory checklist to track supply levels and streamline your restocking process.
Below is a summary of key benefits for each main office cleaning step:
Step | Primary Benefit | Added Workplace Value |
Assess space & gather supplies | Prevents missed areas | Improves cleaning efficiency |
Organize workstations & traffic | Reduces clutter | Enhances productivity |
Clean & disinfect surfaces | Reduces illness | Promotes healthier work |
Vacuum, sweep, mop floors | Removes hazards | Maintains professional look |
Inspect & restock supplies | Ensures readiness | Supports ongoing cleanliness |
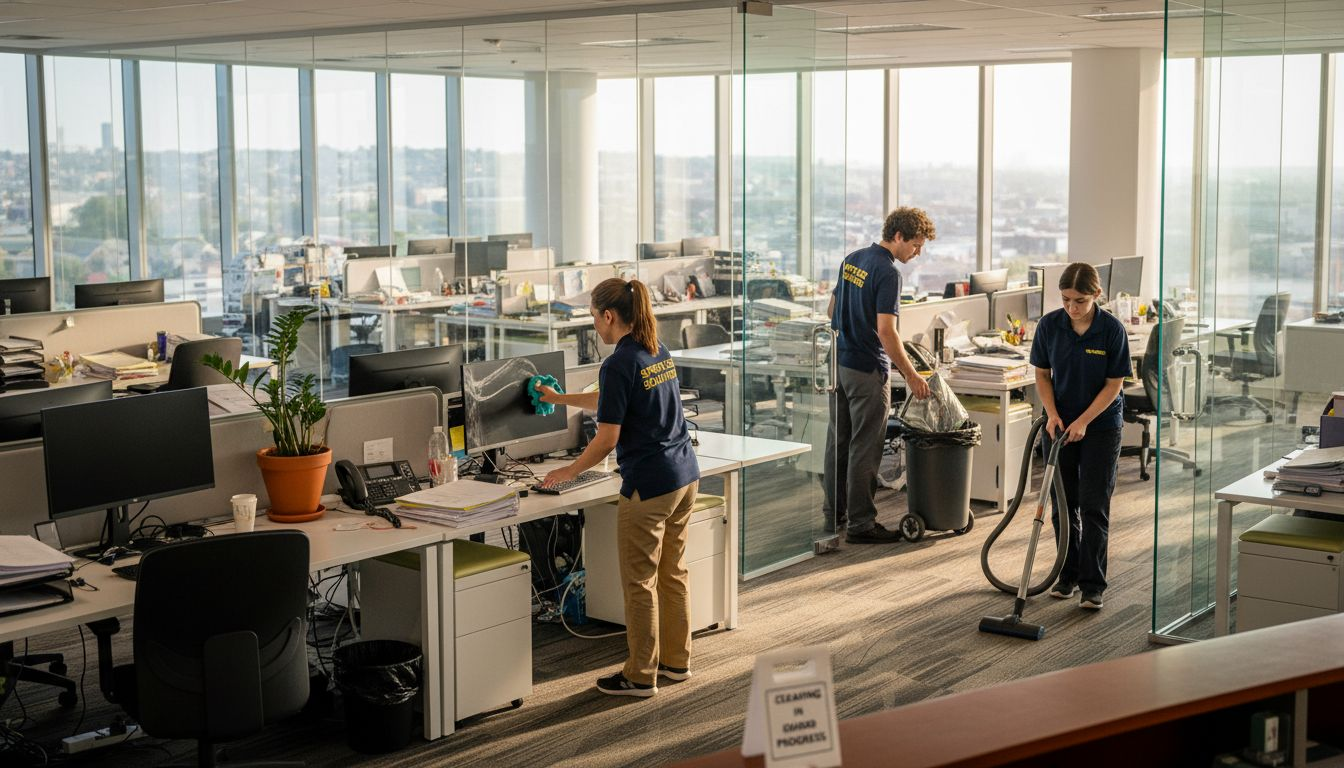
Achieve a Healthier Office with Expert Cleaning Services
Mastering your office cleaning workflow is essential for maintaining a workspace that prioritizes employee health and productivity. The challenge often lies in efficiently organizing your space, disinfecting high-touch surfaces, and ensuring thorough floor cleaning without disrupting business operations. At MyLemonMaids, we understand these pain points and offer professional office cleaning solutions crafted to address every step of your cleaning needs from deep disinfection to supply restocking.

Ready to transform your workspace into a spotless and germ-free environment that enhances wellbeing? Our experienced team handles everything so you can focus on what matters most. Visit MyLemonMaids now and schedule your comprehensive office cleaning service. Experience renewed confidence in your workspace today.
Frequently Asked Questions
How do I assess my office space for cleaning?
Before cleaning, walk through your office to create a mental map of high traffic zones and areas that accumulate dust. Take notes of surfaces made from different materials, such as wood or glass, and organize your cleaning supplies accordingly.
What supplies do I need for an effective office cleaning workflow?
Gather essential items such as microfiber cloths, all-purpose cleaners, disinfectant wipes, disposable gloves, and trash bags. Create a comprehensive cleaning kit that prepares you for various surfaces and keeps your cleaning process efficient.
What is the best way to organize workstations for cleaning?
To organize workstations, declutter by removing unnecessary items and grouping essential tools within easy reach. Implement a clean desk policy where employees clear their workspaces daily to facilitate easier cleaning.
How can I ensure effective disinfection of high-touch surfaces?
Use specific cleaning supplies for different surfaces, starting with visibly dirty areas and applying disinfectant properly. Focus on high-touch points like doorknobs and light switches, and allow surfaces to air dry completely for maximum germ elimination.
What steps should I take to clean and maintain floors?
Begin by clearing the floor of movable objects, then vacuum or sweep to remove dust and debris. Mop with an appropriate cleaner, working in sections and regularly rinsing the mop to avoid spreading dirt.
How often should I inspect the cleanliness of my office?
Conduct a thorough inspection after each cleaning session to identify areas needing additional attention. Regular checks, ideally at least once a week, will help maintain a consistently clean and healthy workspace.
Recommended
Comments